
Act 1
It’s time to rethink how we write screenplays.
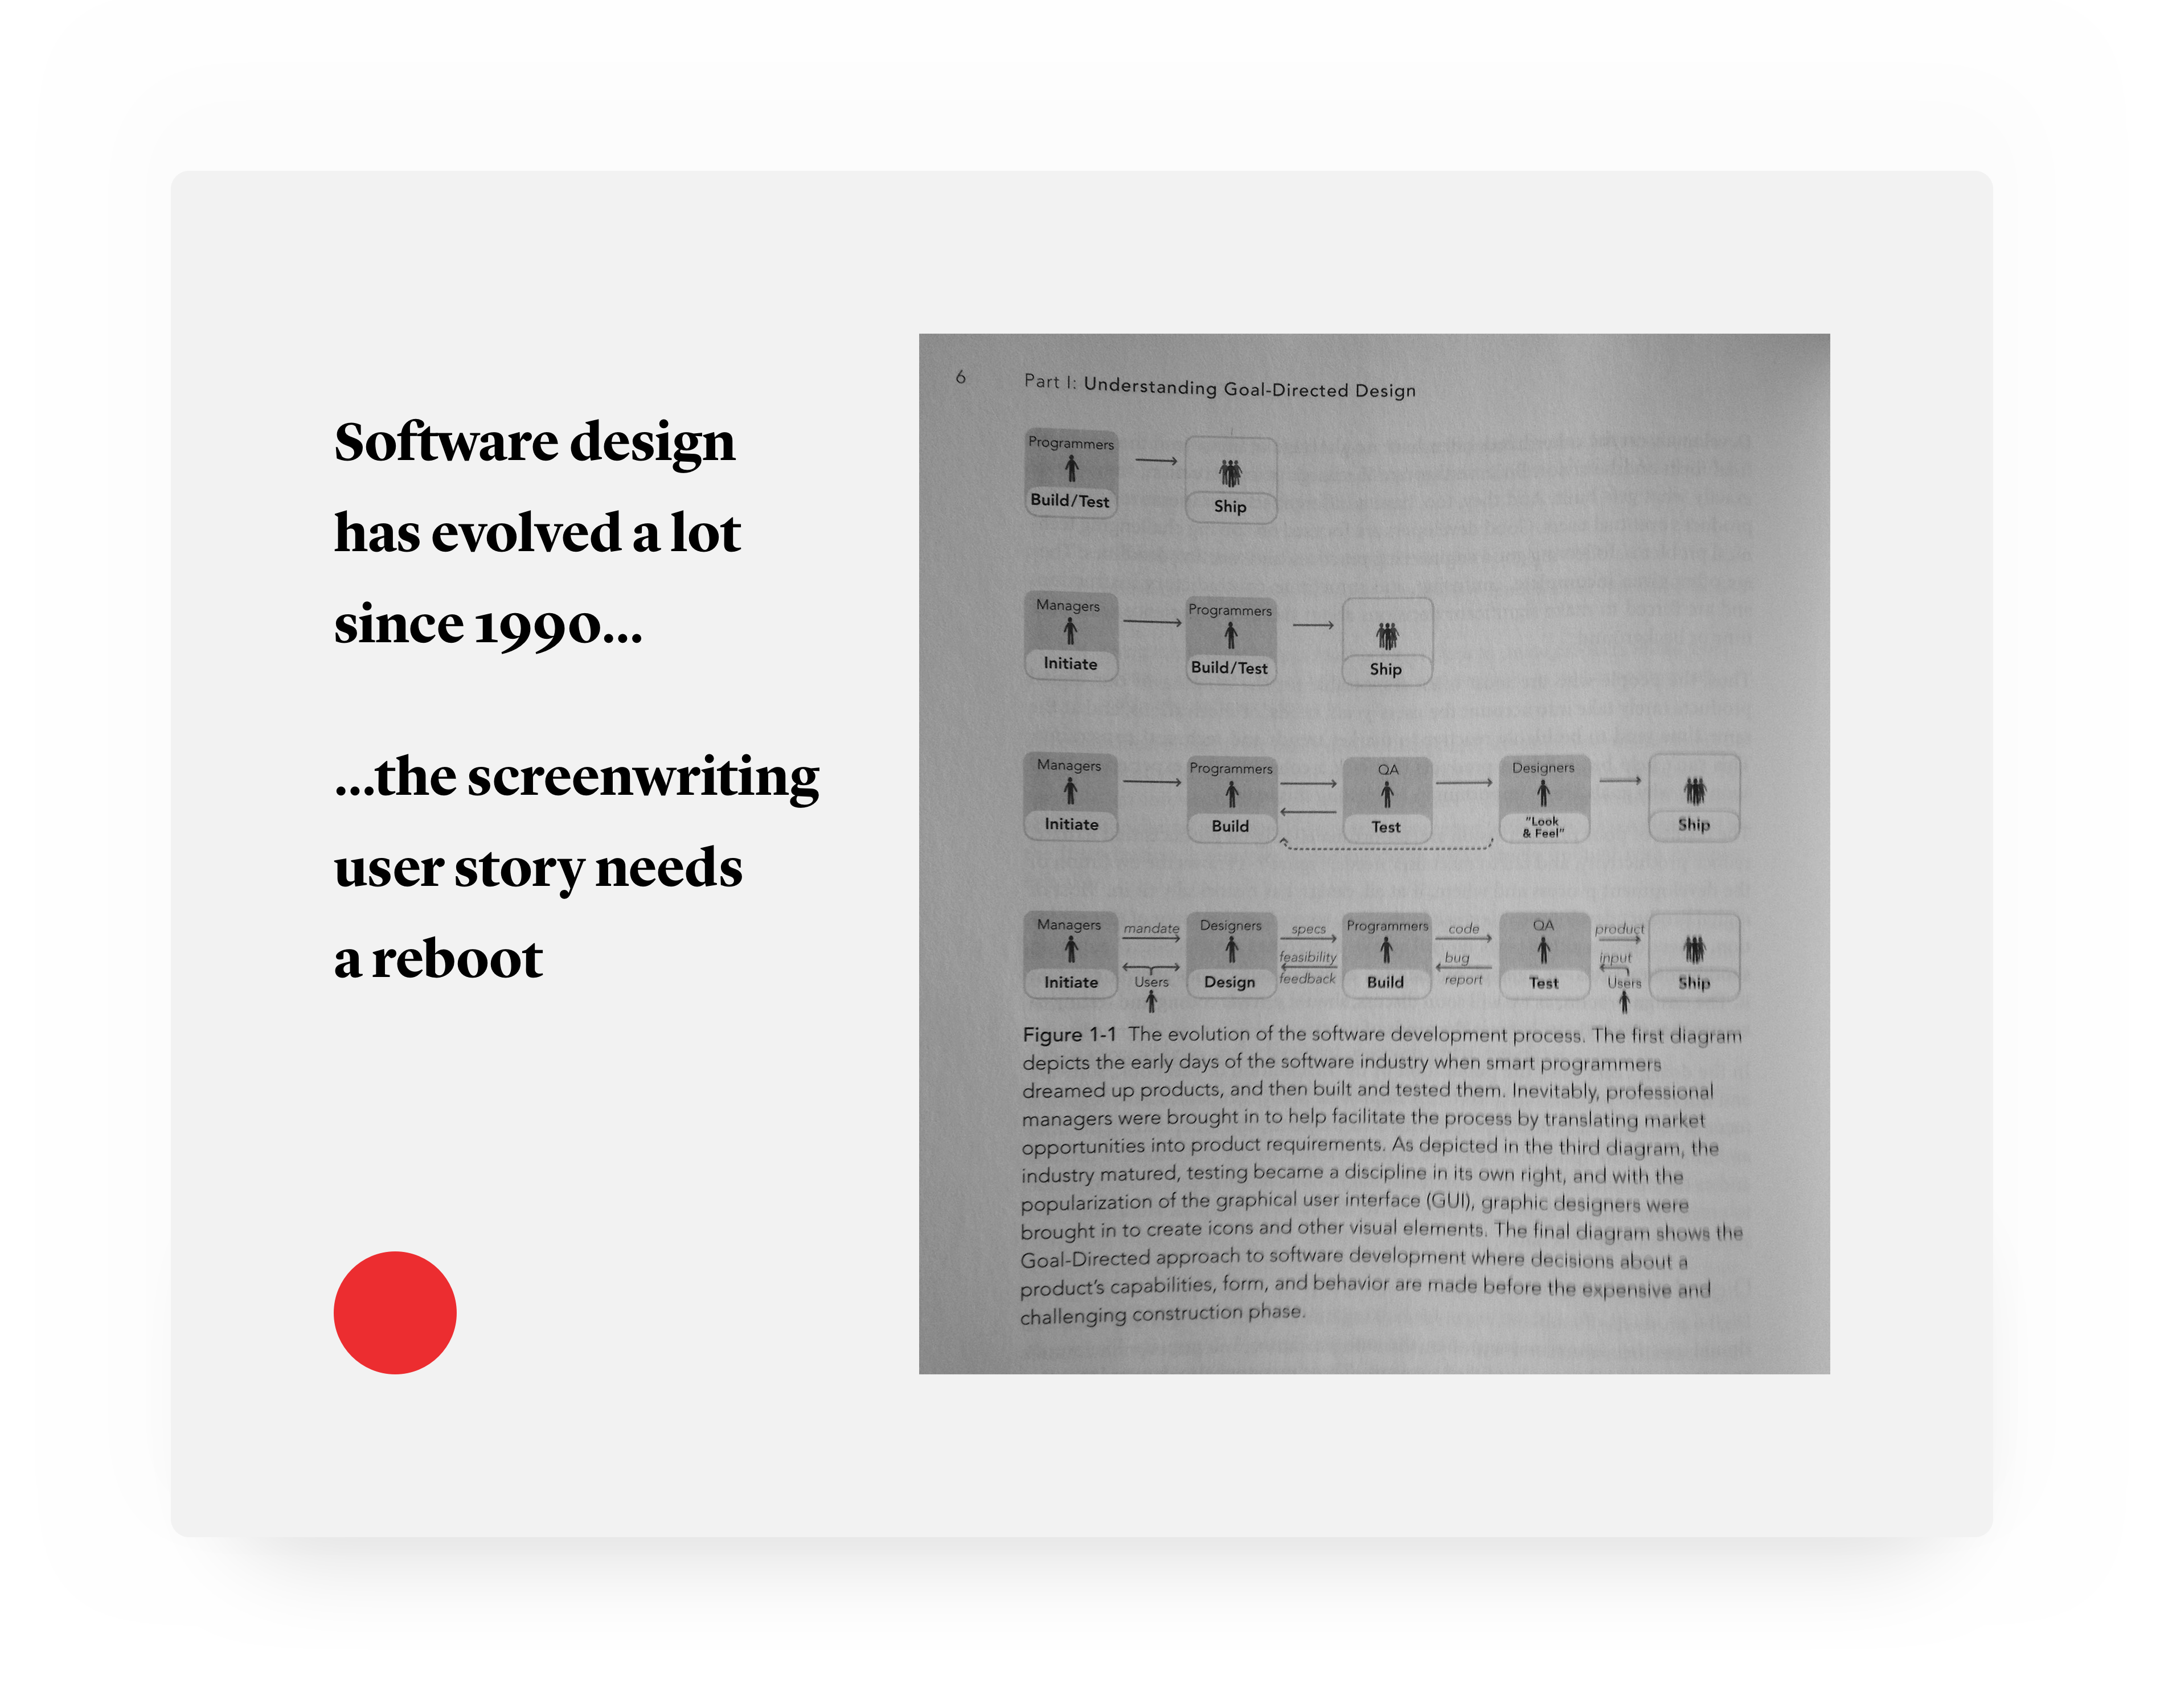
When was the last time you examined the way you write screenplays? Have you ever truly analyzed the screenwriting software you use? Why do you use a particular app but not another? Common answers might include: product features you can’t live without, or that everyone else uses the app you use. Maybe it’s all you know because you’ve been doing this since the days of, “That’s all there was when I got started”. Regardless of the reason, many screenwriters continue to write movies with outdated incumbent software, yet meanwhile, the product design discipline that defines what good software is has changed dramatically since the first version of Final Draft in 1990.
The ascendancy of User Centered Design over the last two decades has raised the bar for a wide range of product experiences, and there’s no reason for screenwriters or the entertainment industry at large to miss out on the benefits that modern product design can bring to the screenwriting process.
At the heart of the User Centered Design revolution is the User Story, which in its most simple form is a goal. Every piece of software we own is a User Story made of up smaller sub-stories grouped together to afford a goal or set of goals, ideally with as little friction as possible. User stories can be poorly or well told, just like stories written for the silver screen, and ironically many screenwriters today still use poorly written user stories in an attempt to write great narrative stories. It’s time to rethink how we write screenplays.
Screenwriters shouldn’t have to endure an unenjoyable telling of a product design user story just to write a script. The experience of using a great product is much like the experience of watching a great film. We know when we’re in the hands of someone who really understands the story they are telling. Similarly, we know when we’re in the hands of a hack.
With respect to software, this is typically when we feel bound by a product, rather than uplifted by it. If you honestly don’t feel uplifted by the screenwriting app you use, perhaps it’s time to apply a new perspective to how you write screenplays.
Act 2
I want to enjoy writing a screenplay.
At the end of last year I made a decision to archive my passion for product design as my primary personal creative outlet so I can refocus on screenwriting and filmmaking. Many years ago, before heading down a product design career path, I was exposed to Final Draft while working as an assistant at Warner Bros., so naturally this was the screenwriting app I started with in returning to this craft to write feature length films.
But something happened when I opened up Final Draft 10 for the first time. Something devastating.
I couldn’t write.
Staring at two words sucks. My FADE IN was already a FADE OUT. I played around with the beat bar, laid out some brightly colored cards, and basically got nowhere. And I have a fairly well formed idea in my head already, so why was this happening?
At the time I didn’t have a way of putting it into words because Final Draft was all I knew. But the product designer in me knew something was amiss. It wasn’t just features getting in the way of my creative spark, it was an outdated telling of the user story that’s important to me.
Little did I know my search for a better screenwriting app would lead me to Fountain markdown, which empowers you to write screenplays in plain text. This is a profound innovation: through Fountain markdown the screenwriting medium is now a bonafide language, not just a layout, which is thrilling because you can write a screenplay without having to consider formatting or define entities—tedious distractions to crafting your story.
But Fountain itself isn’t the end of The Screenwriting User Story. While it’s easy to write Fountain in any text editor, even an email client, there exists a tool that understands Fountain in a way that addresses the cold start of a blank page 1 more effectively than any other screenwriting app I have used.
Highland, by screenwriter John August and the team at Quote-Unquote Apps, is a brilliant execution of the user story, “I want to enjoy writing a screenplay”.
I purchased Highland 1 because of what I didn’t see—bells, whistles, and kludge, aka distractions and friction. The @qapps team recently released the first major update to Highland, which I was able to beta test prior to the launch of version 2. All of the essential attributes of Highland 1 remain the bedrock of Highland 2, but this new release injects some serious steroids into your screenwriting muscles.
It’s worth noting that Highland 2 also offers a variety of templates for other document types, but my focus in using it, and thus the focus of this post, will be around the screenwriting workflow I continue to optimize with this lean and efficient product.
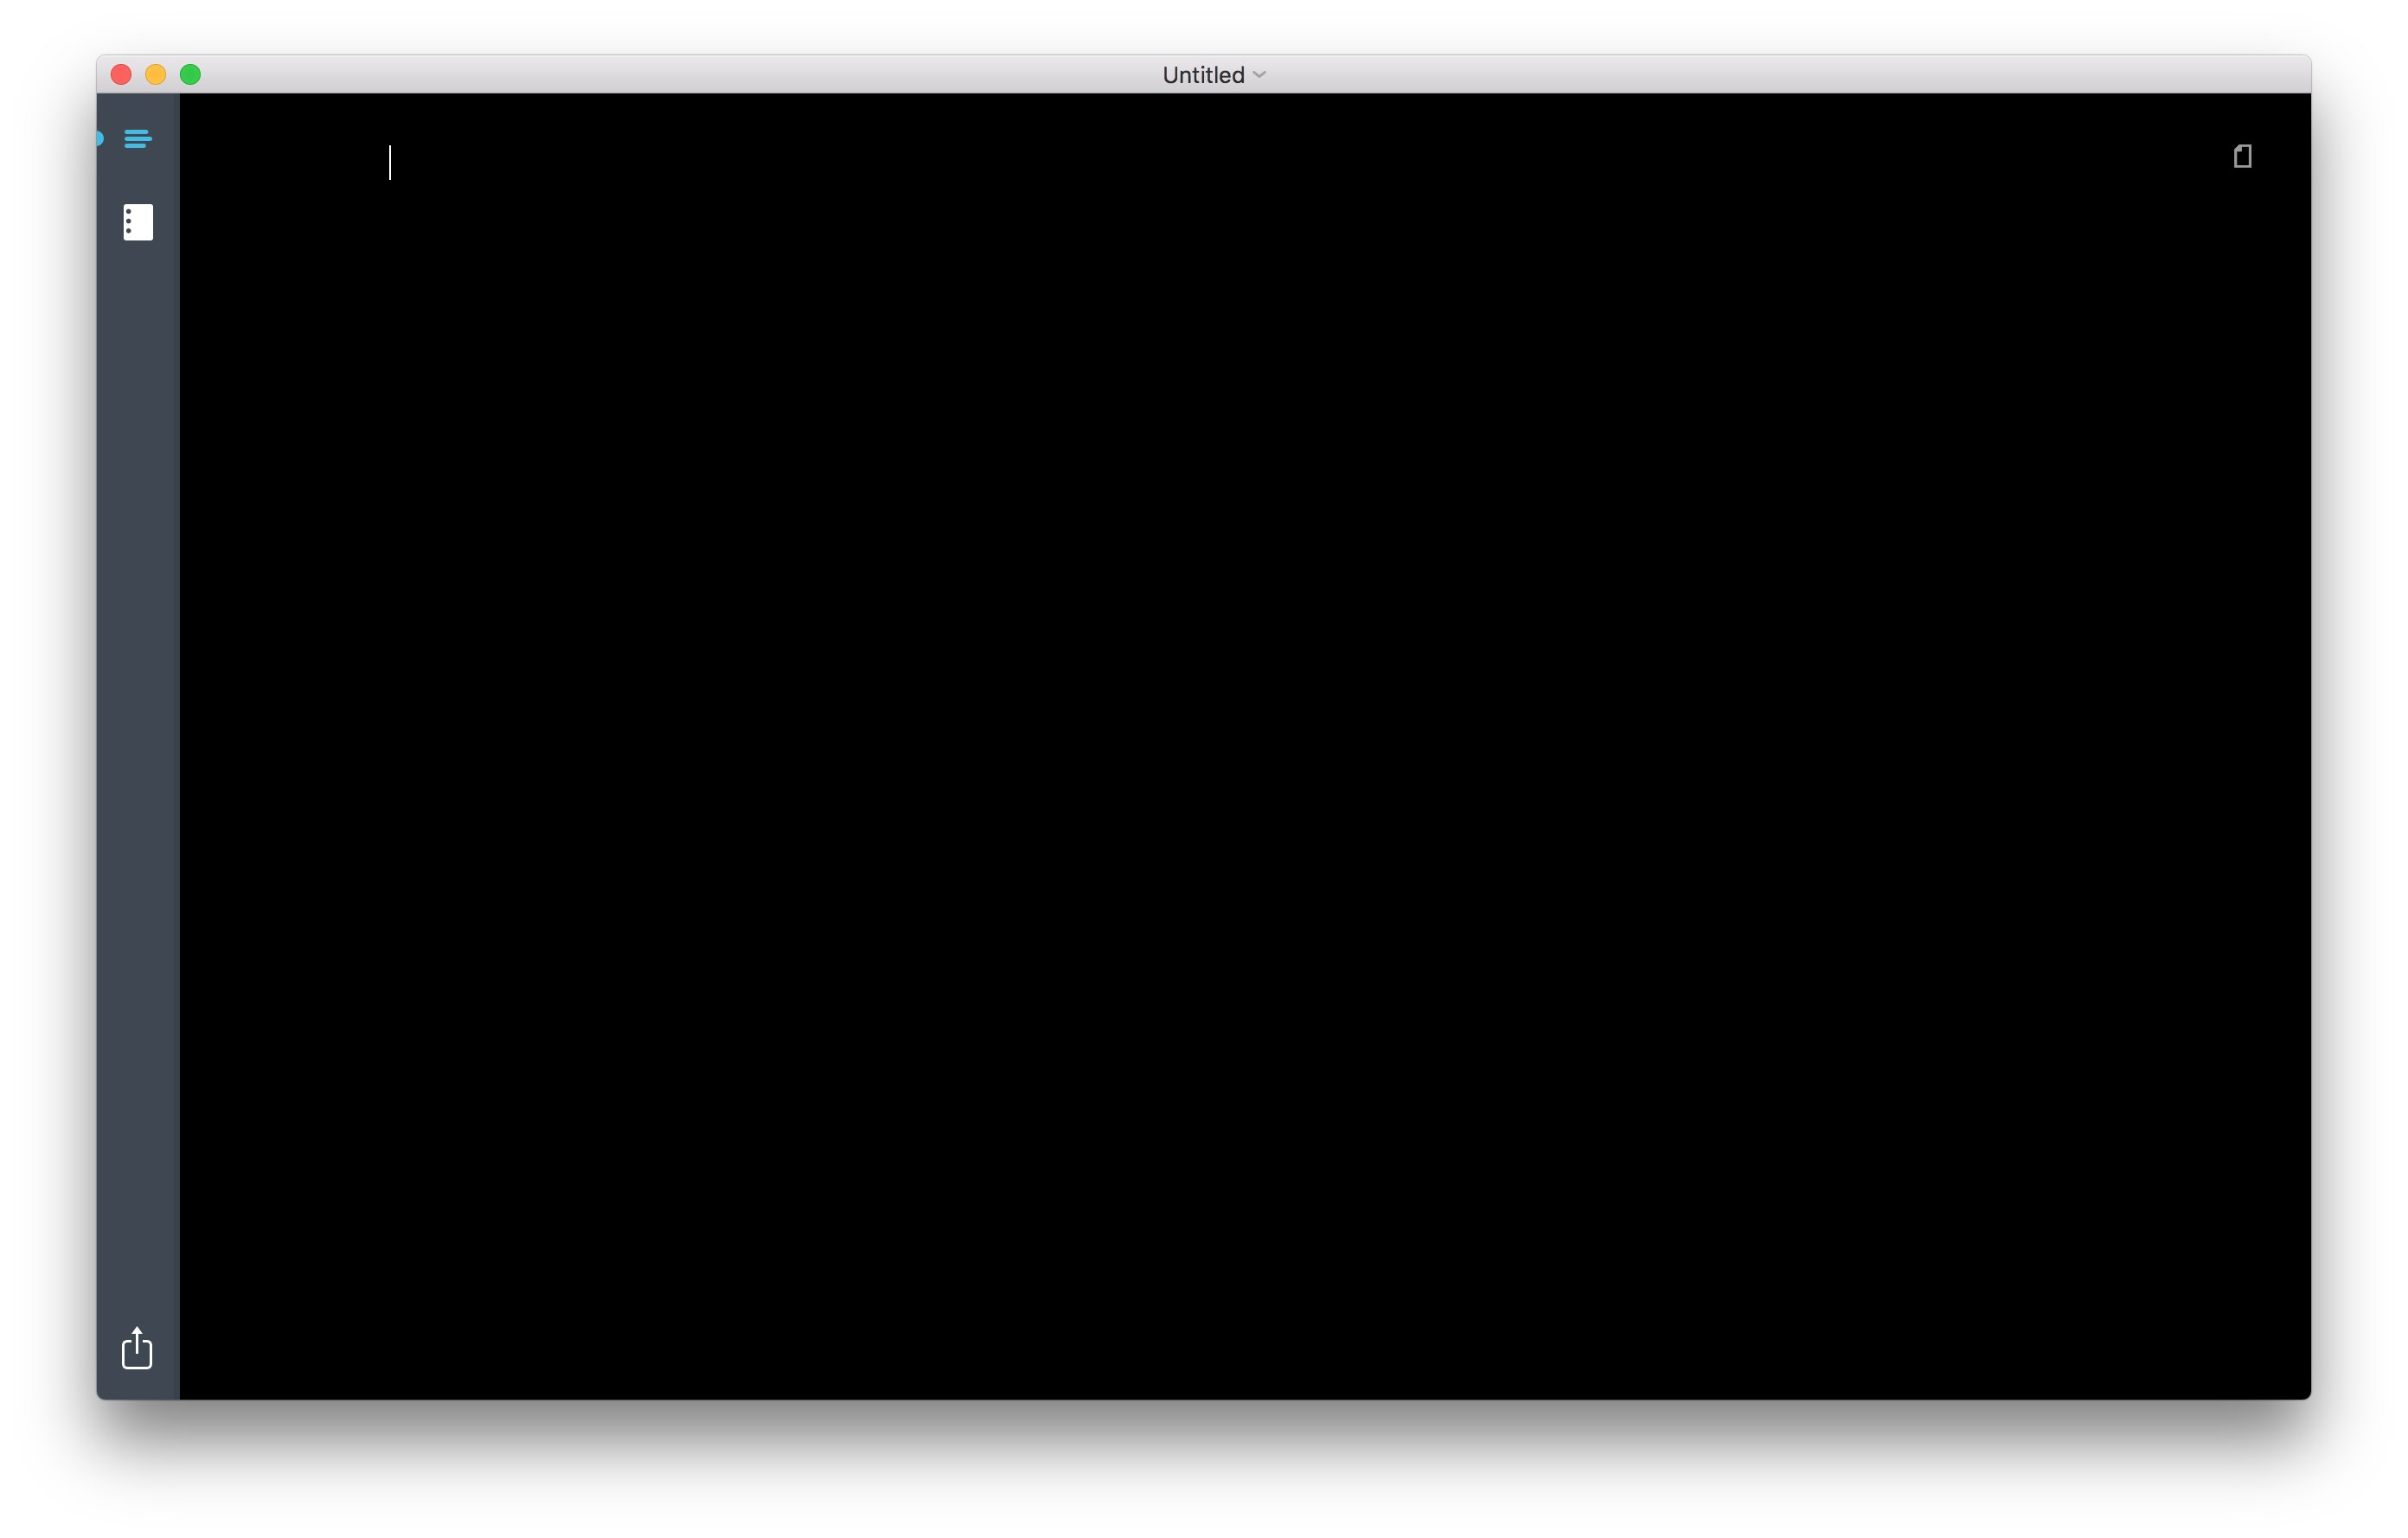
Highland 1
(Dark theme)
Highland 2
(Material theme)
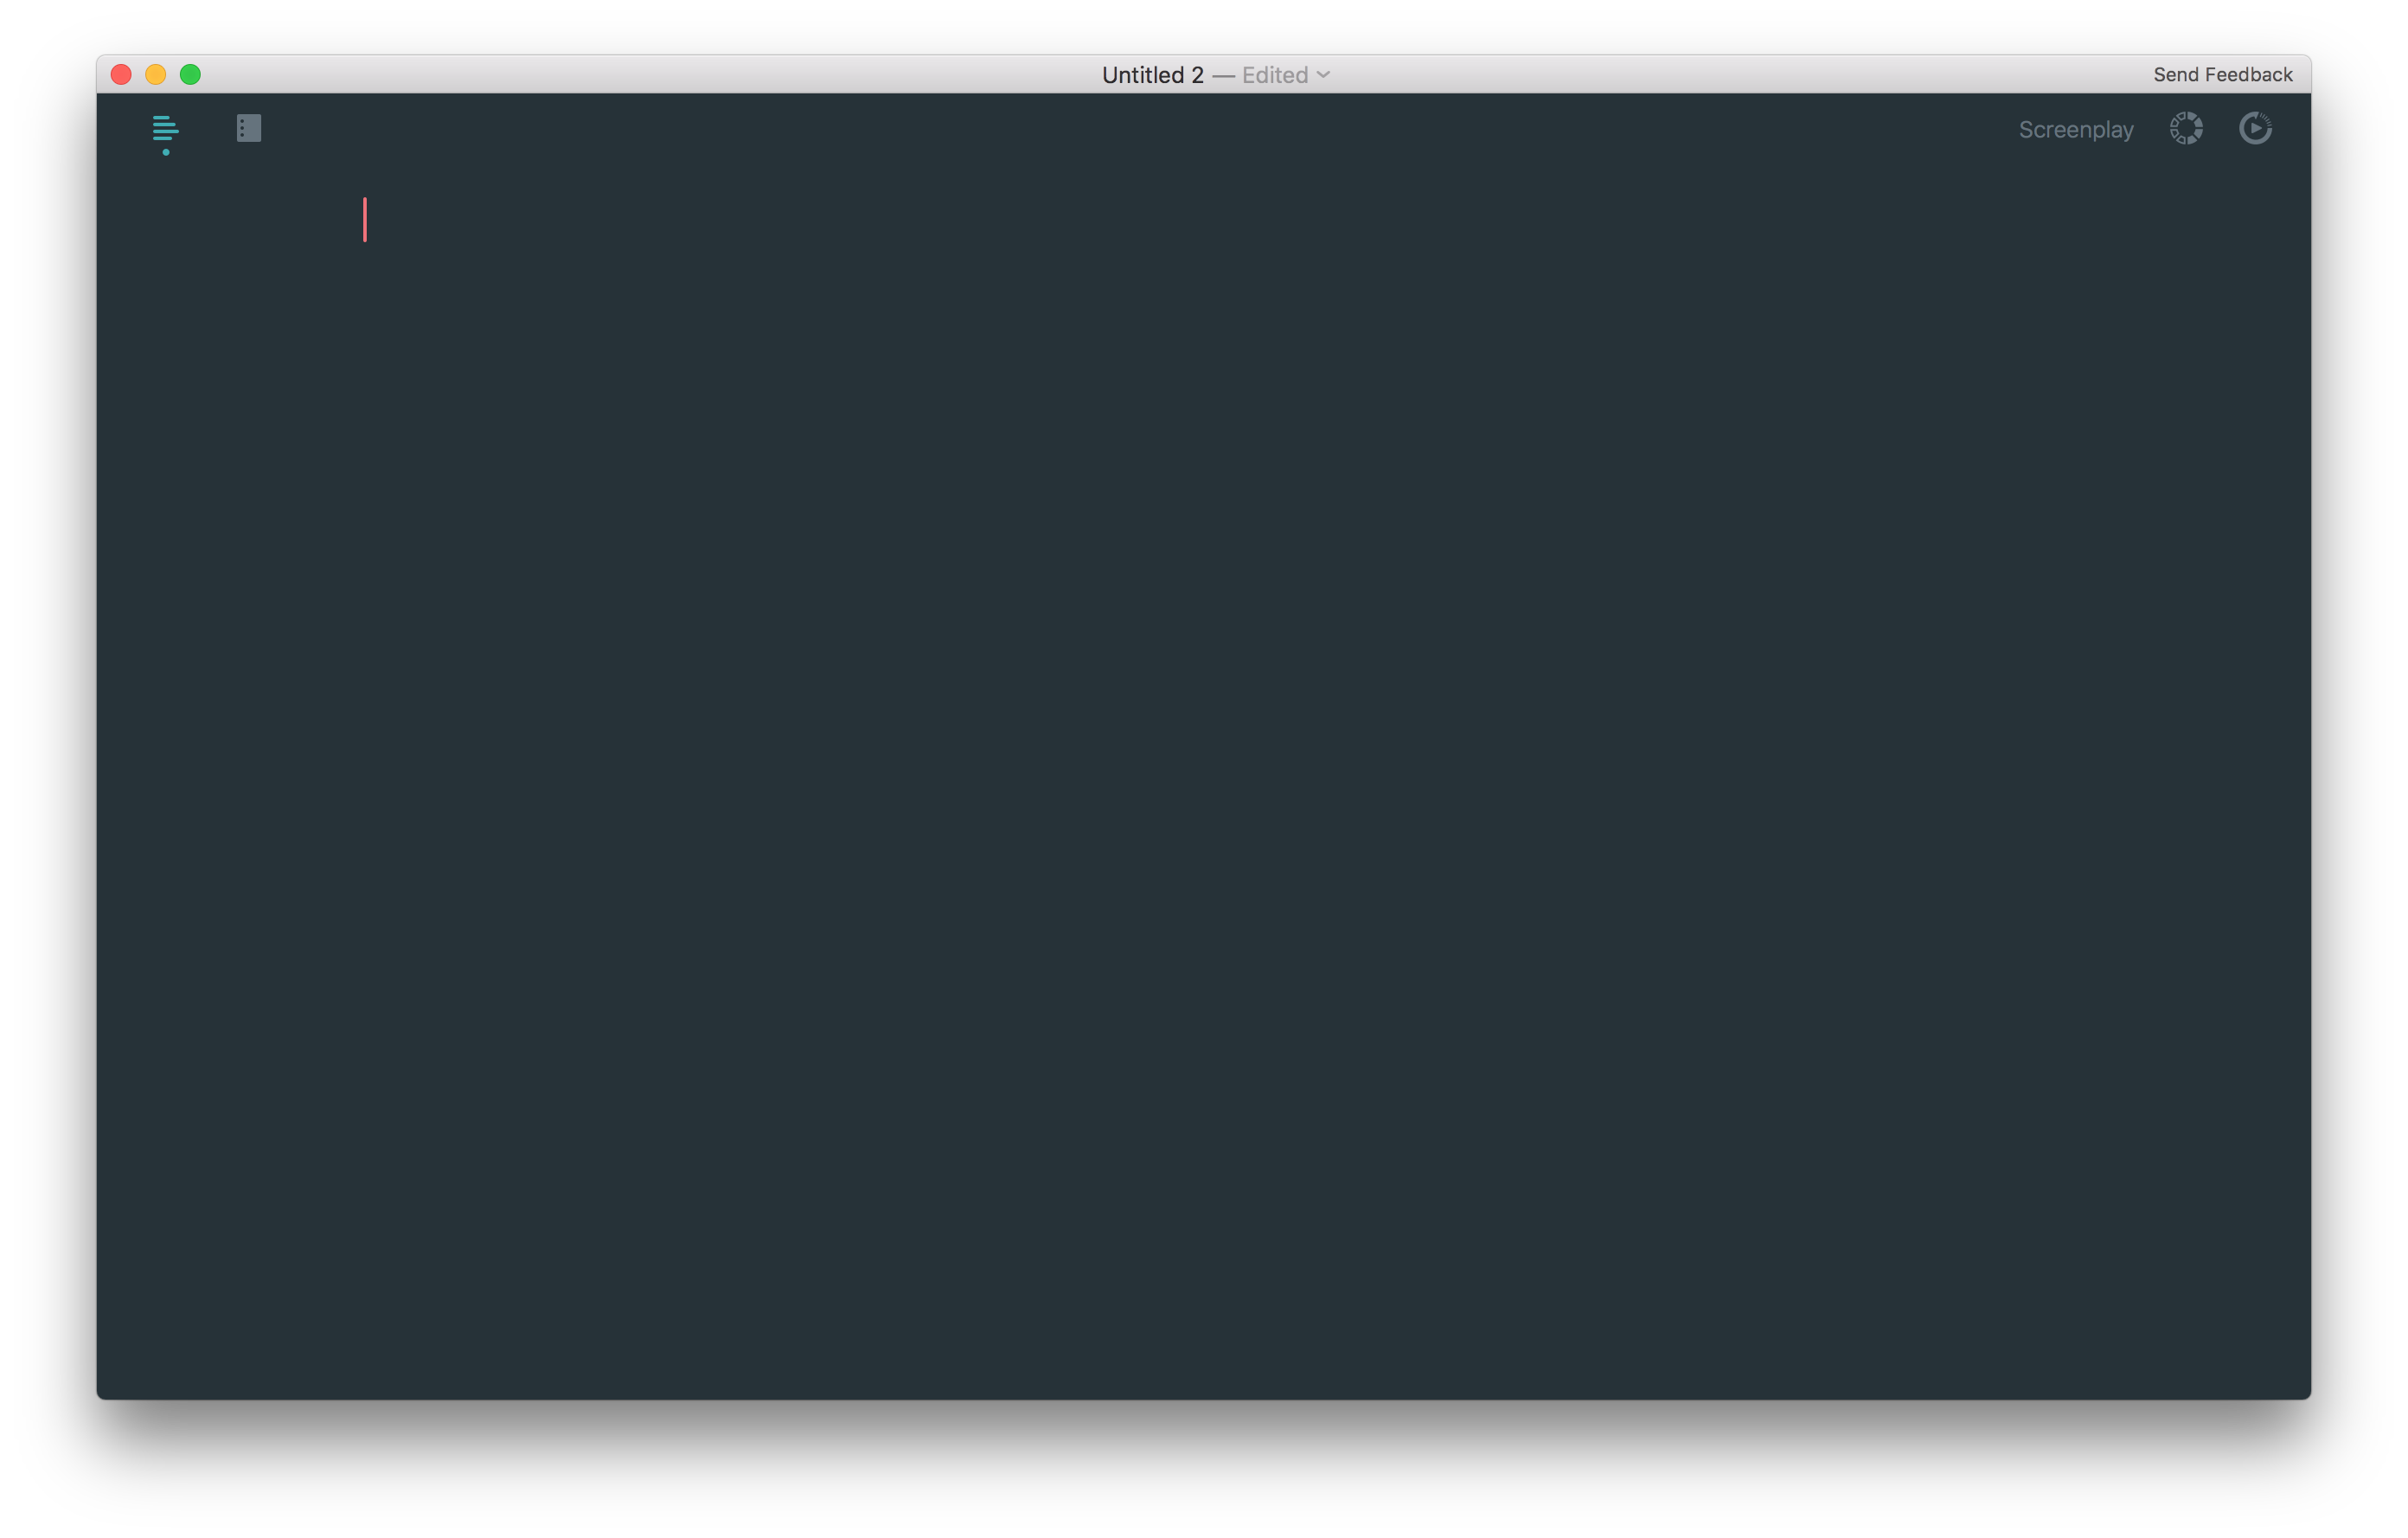
The premise of Highland is simple: you just write. Highland takes care of your “screenplay” so you can focus on your story. Nothing needs to be defined or tabbed.
Read that last sentence again. You literally just write.
Highland is like the friend in the Trust Exercise that always catches you, never lets you hit the floor. Behind the scenes, Highland uses your plain text Fountain markdown to produce the traditional screenplay format when you’re ready to read it like a printed script. Anyone who has used Slack should be somewhat familiar with markdown, but for the uninitiated, it’s a way of using low fidelity plain text to style itself for high fidelity functional and visual purposes. Most WYSIWYG editors like Word treat the text you write this way under the hood and obfuscate this beneath a print-ready interface.
Highland ships with a lovely visual interface for handling the various pieces of Fountain markdown that yield scene headers, descriptions, dialogue, etc… I recommend turning on Live Margins (View > Live Margins) so you can still see the essence of the screenplay layout while writing plain text in the Editor. As you write, you can easily switch between the Editor and Preview by pressing Command+E, which renders your screenplay in proper layout in PDF format.

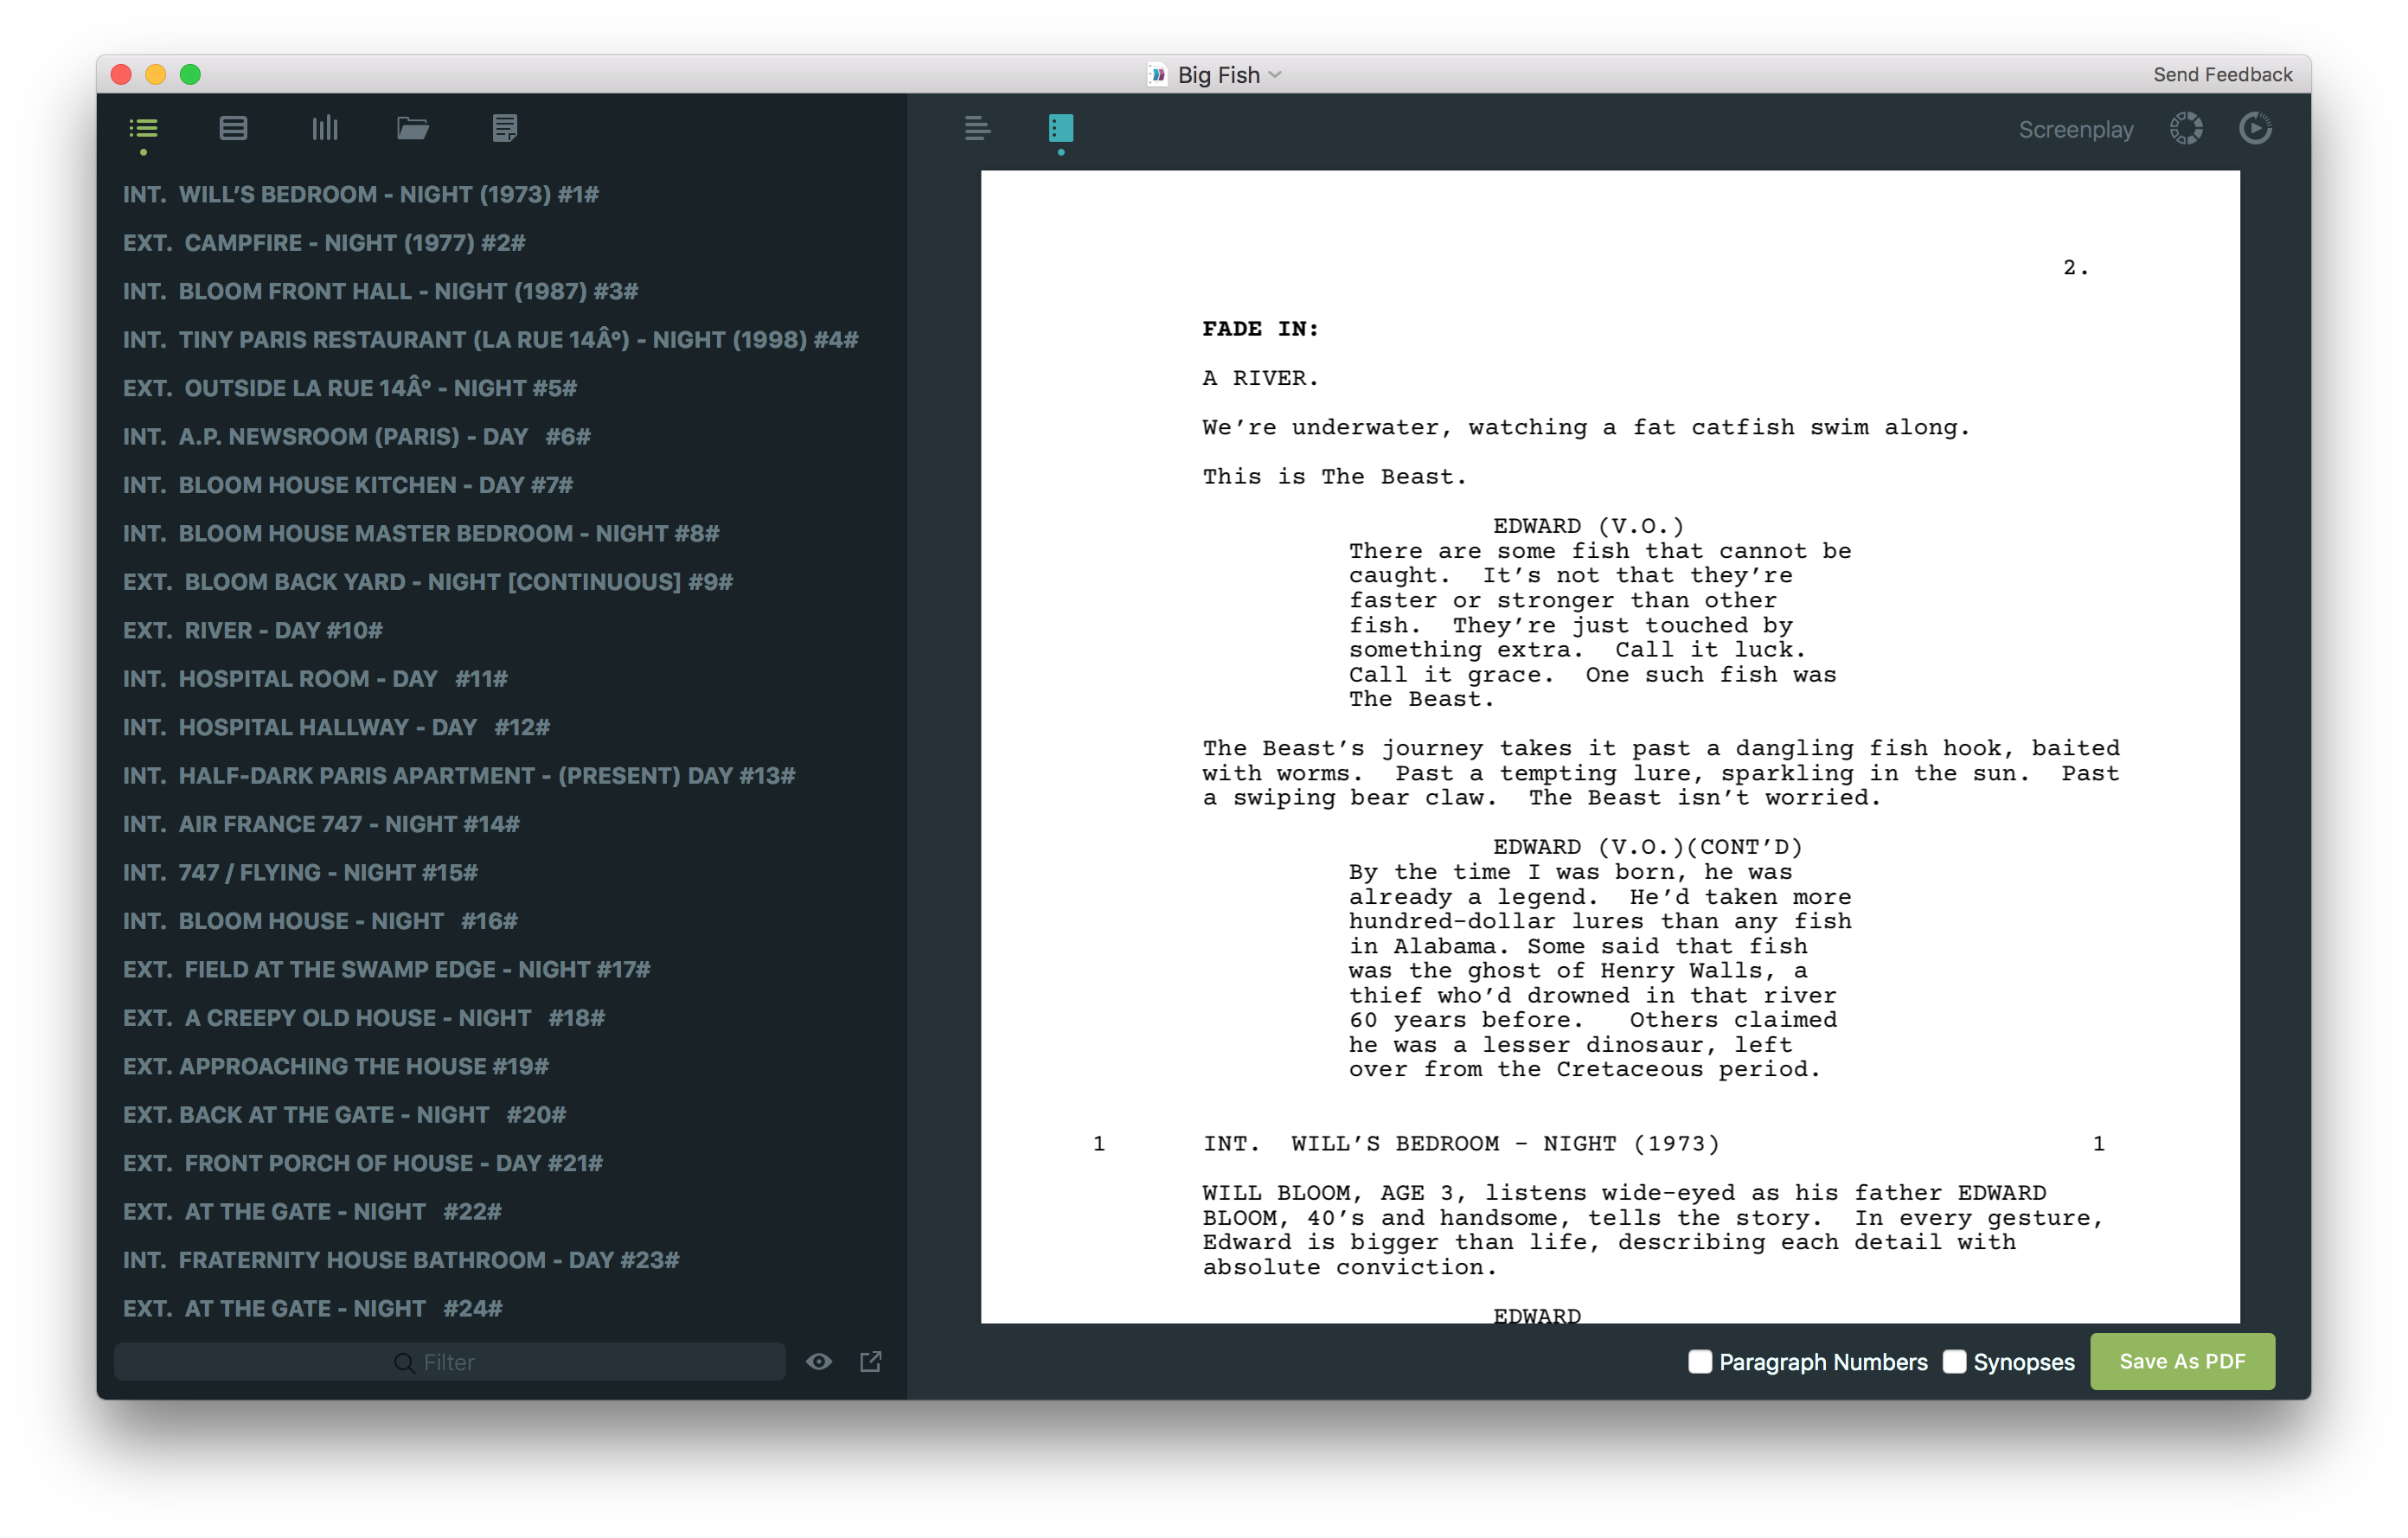
The biggest difference from Highland 1 to Highland 2 is the addition of a powerful sidebar replete with helpful features for beginning and advanced screenwriters. Command+1 through Command+5 are at your disposal all the time for complete sidebar control.
To show/hide the sidebar, press Command+0. To show/hide the Navigator, press Command+1. The Navigator displays a realtime reflection of the Fountain structure you write in the Editor. Every scene header in the Editor is mirrored in the Navigator, which serves as a handy Jump To menu for every scene in your screenplay.
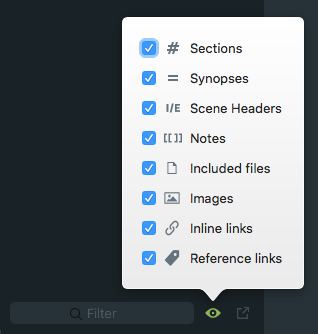
The Navigator also displays other types of Fountain entities such as notes, links, images, and more. At the bottom of the Navigator, click on the eye icon to adjust the display of entity types.
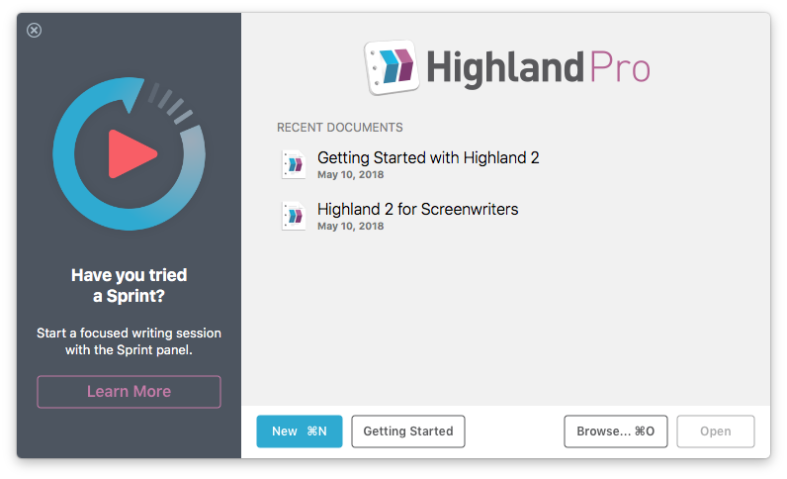
Now that we’ve got a sense of the interplay between Fountain markdown and the Highland app, let’s establish some good house keeping standards. Make sure to read the Getting Started docs to get a sense of how to create hierarchical Fountain structure in the Editor, as this drives the structure you’ll want to leverage in the Navigator. No need to worry though, it’s actually quite simple and intuitive and the How-To docs are accesible from the start screen and the Help menu in the app.

Adding a title page is easy. In the app, go to Format > Title Page:
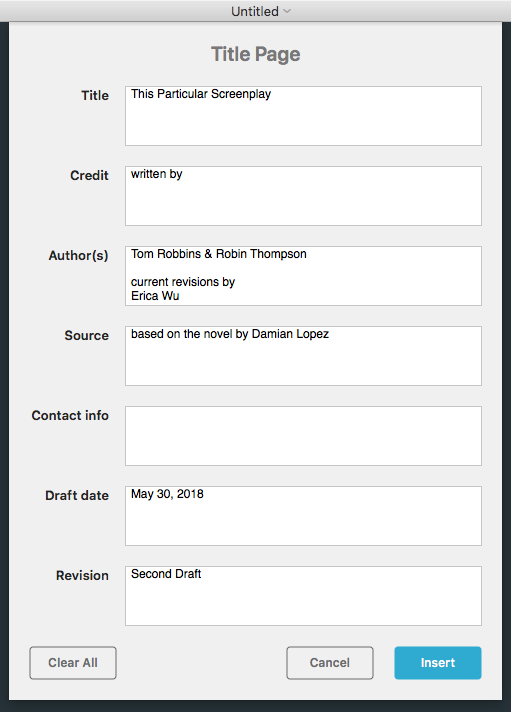
You can also add the following to the top of your Highland file:
Title:
Credit: Written by
Author:
Source: Story by
Contact:
Notes: FIRST DRAFT
Draft date:
===
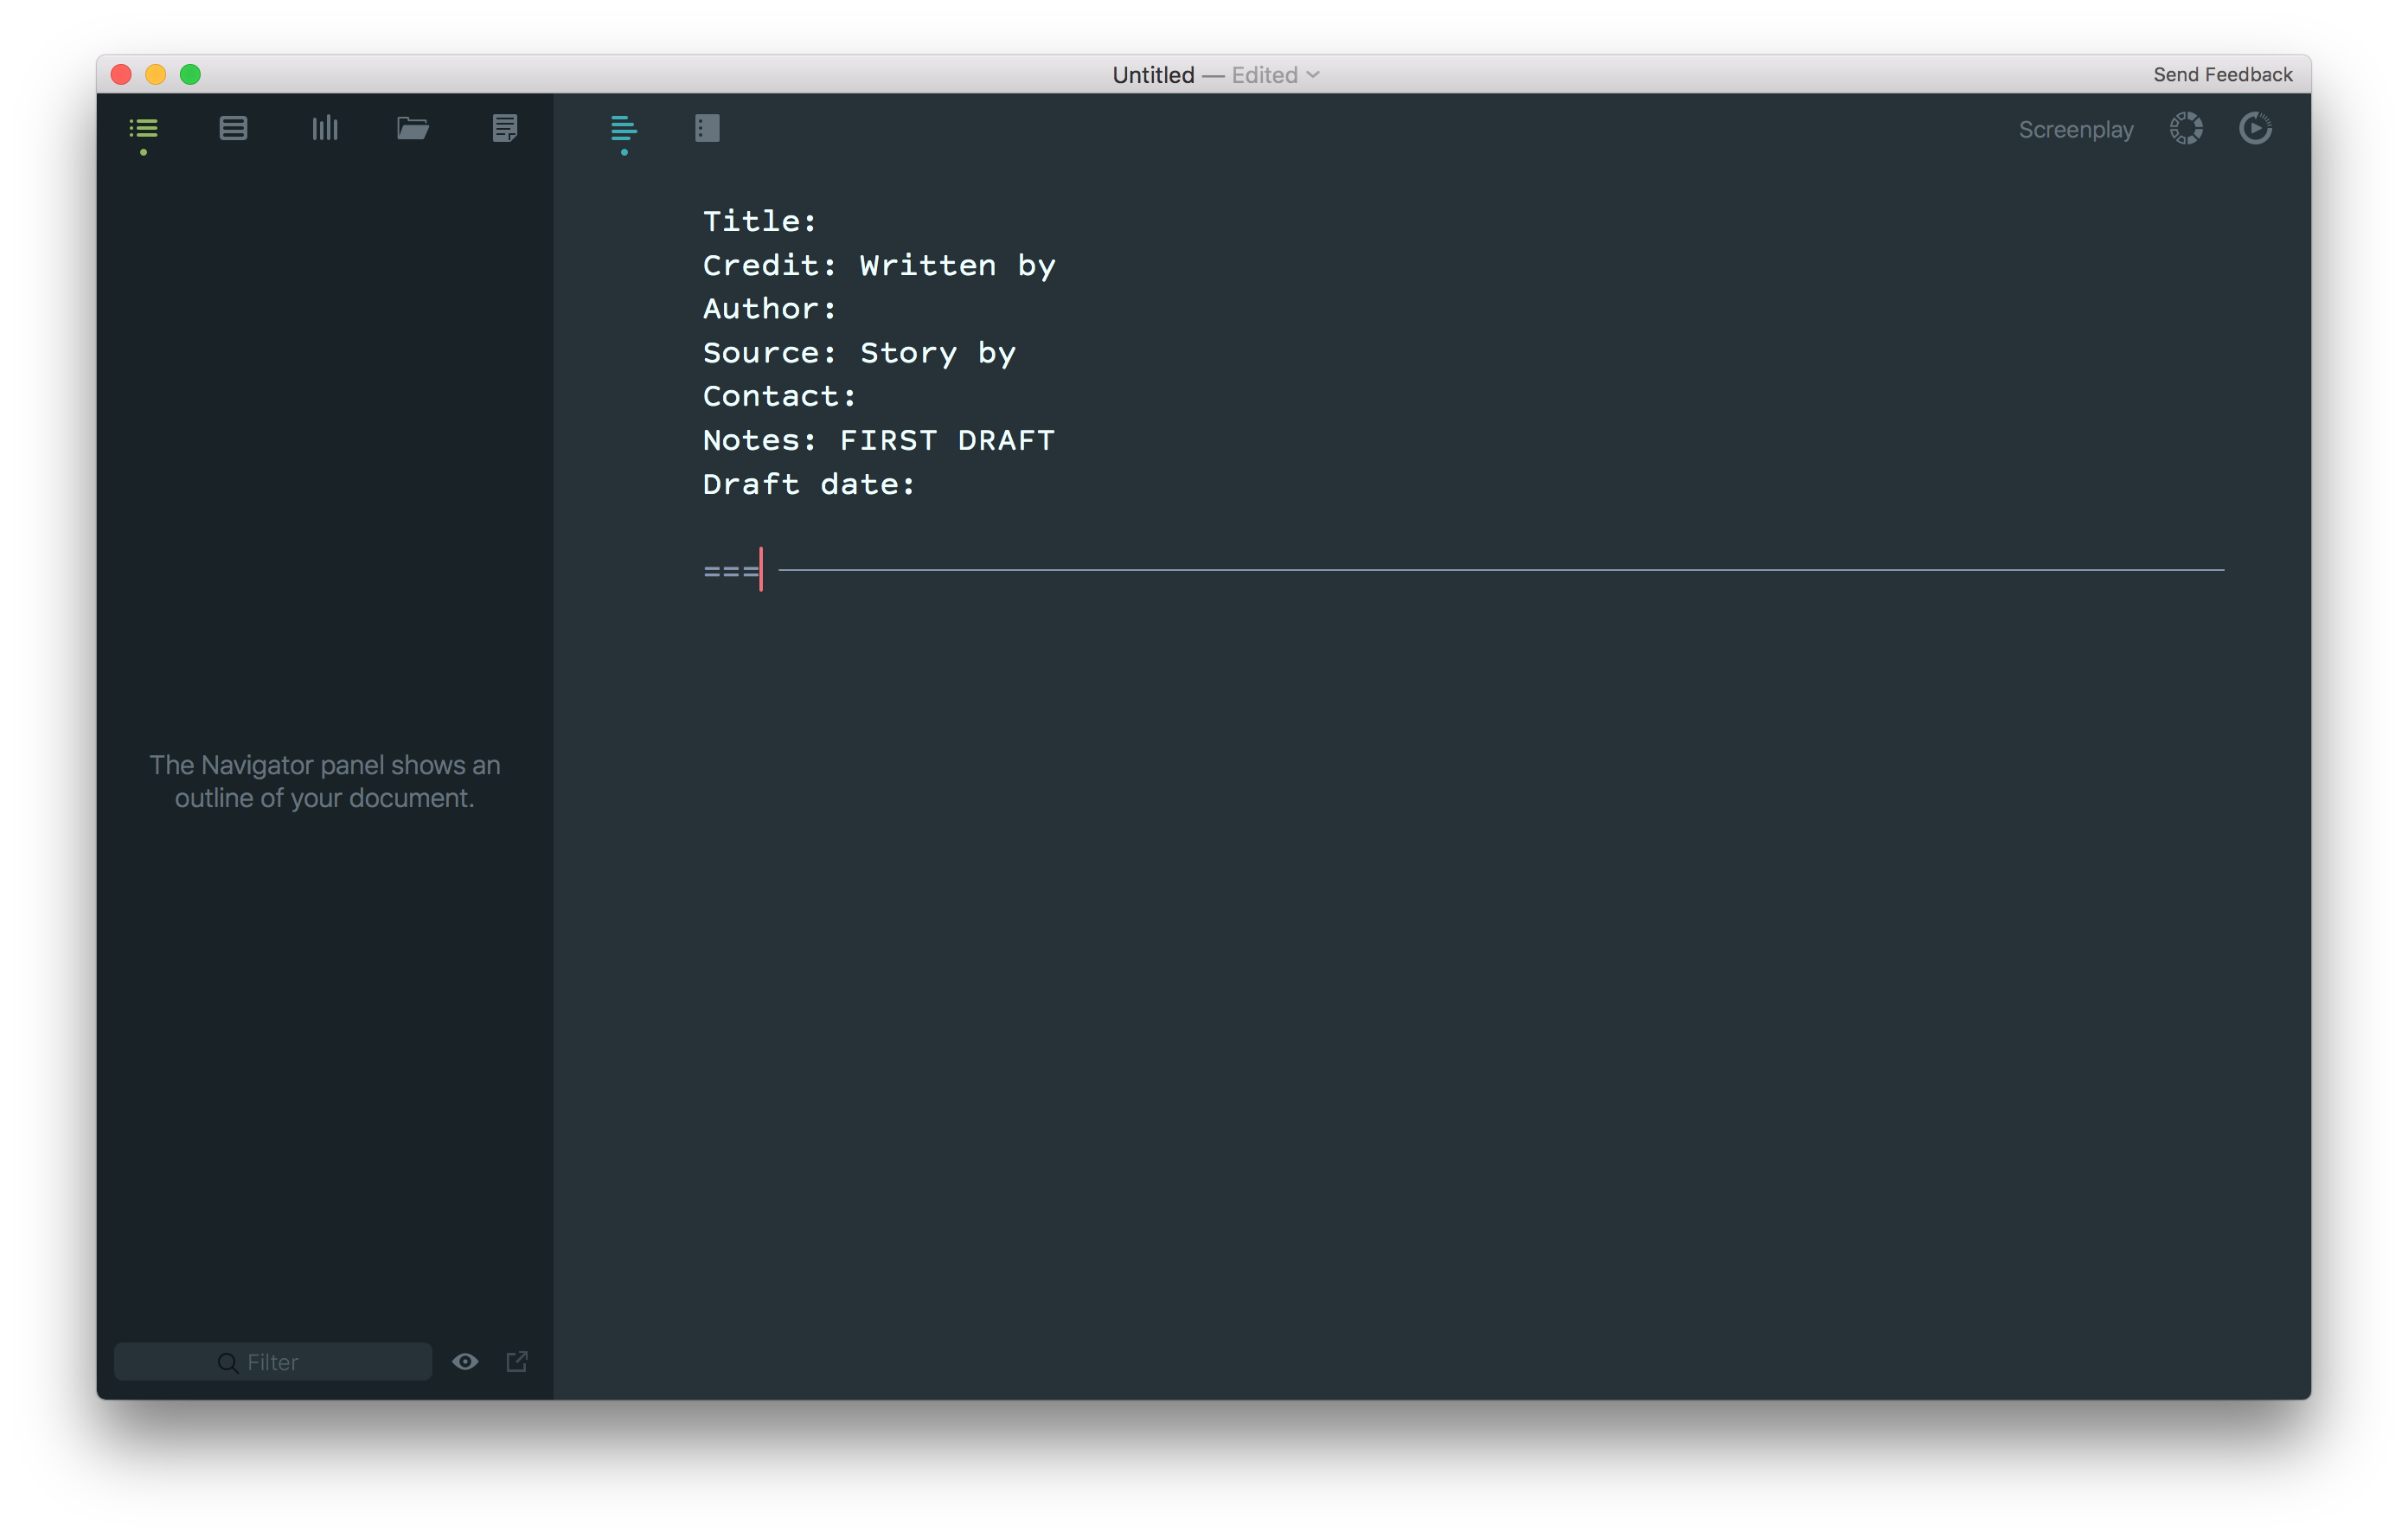
The basic pieces of a screenplay title page followed by three equal signs, which creates a page break.
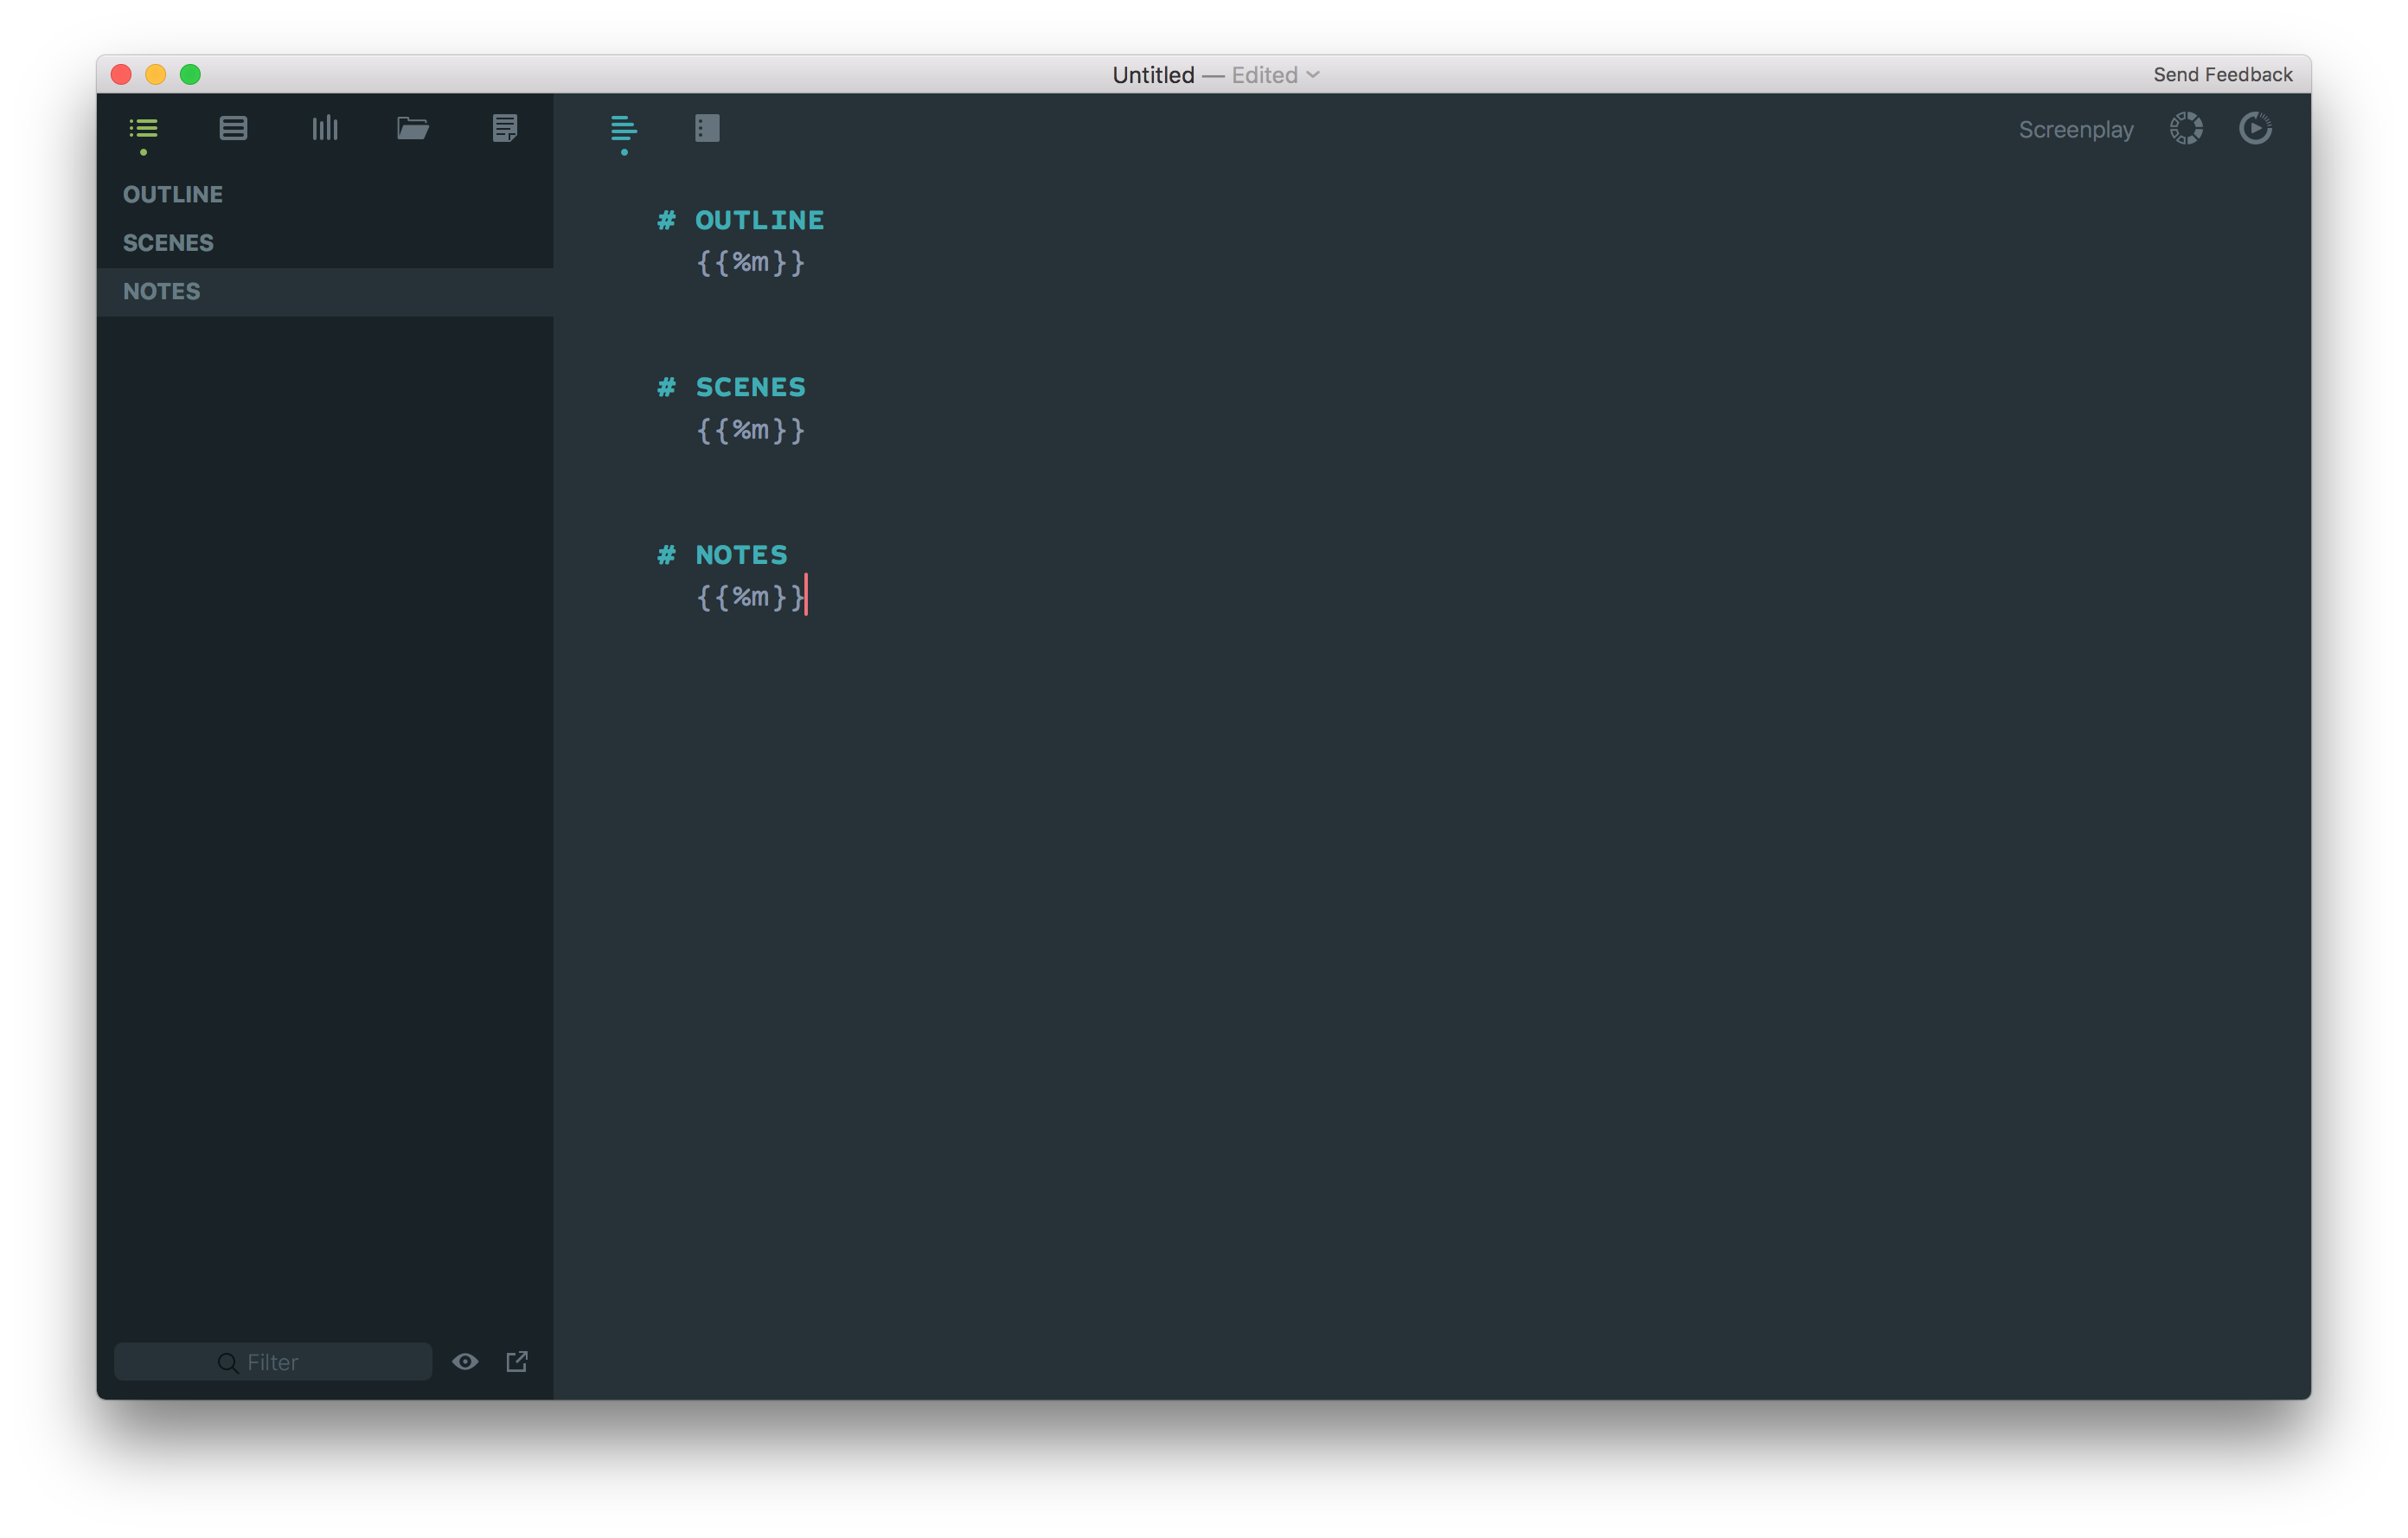
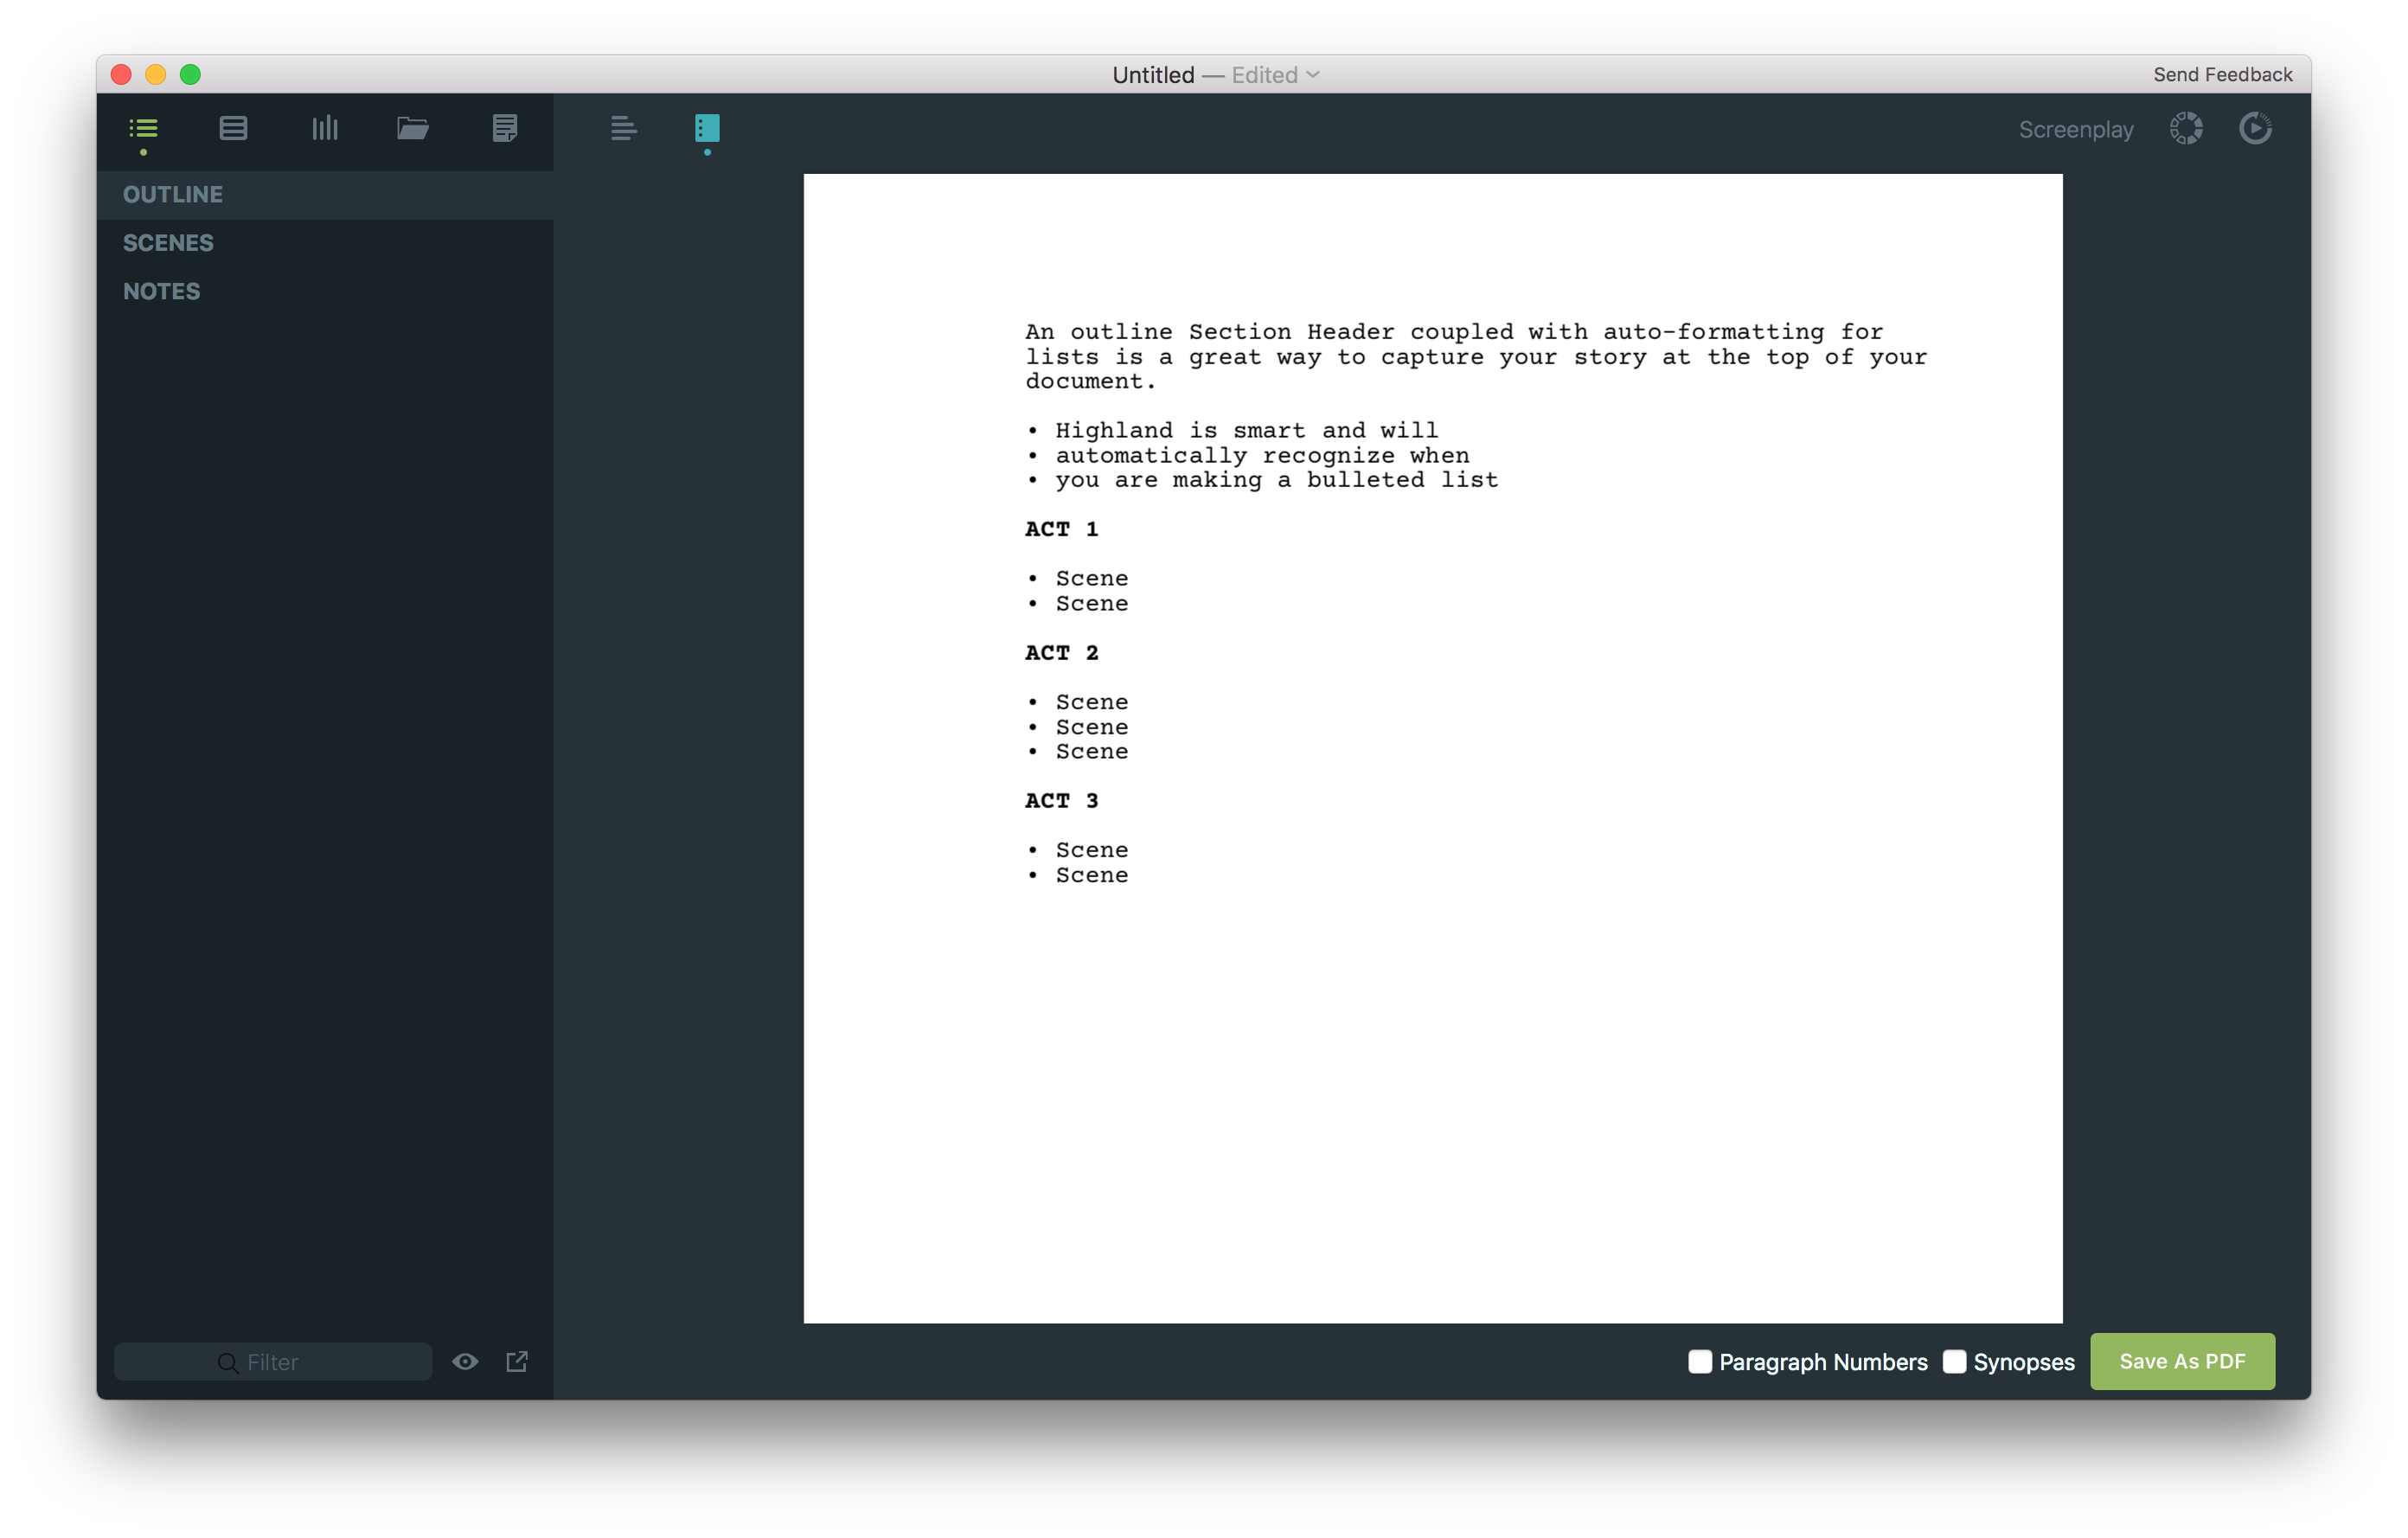
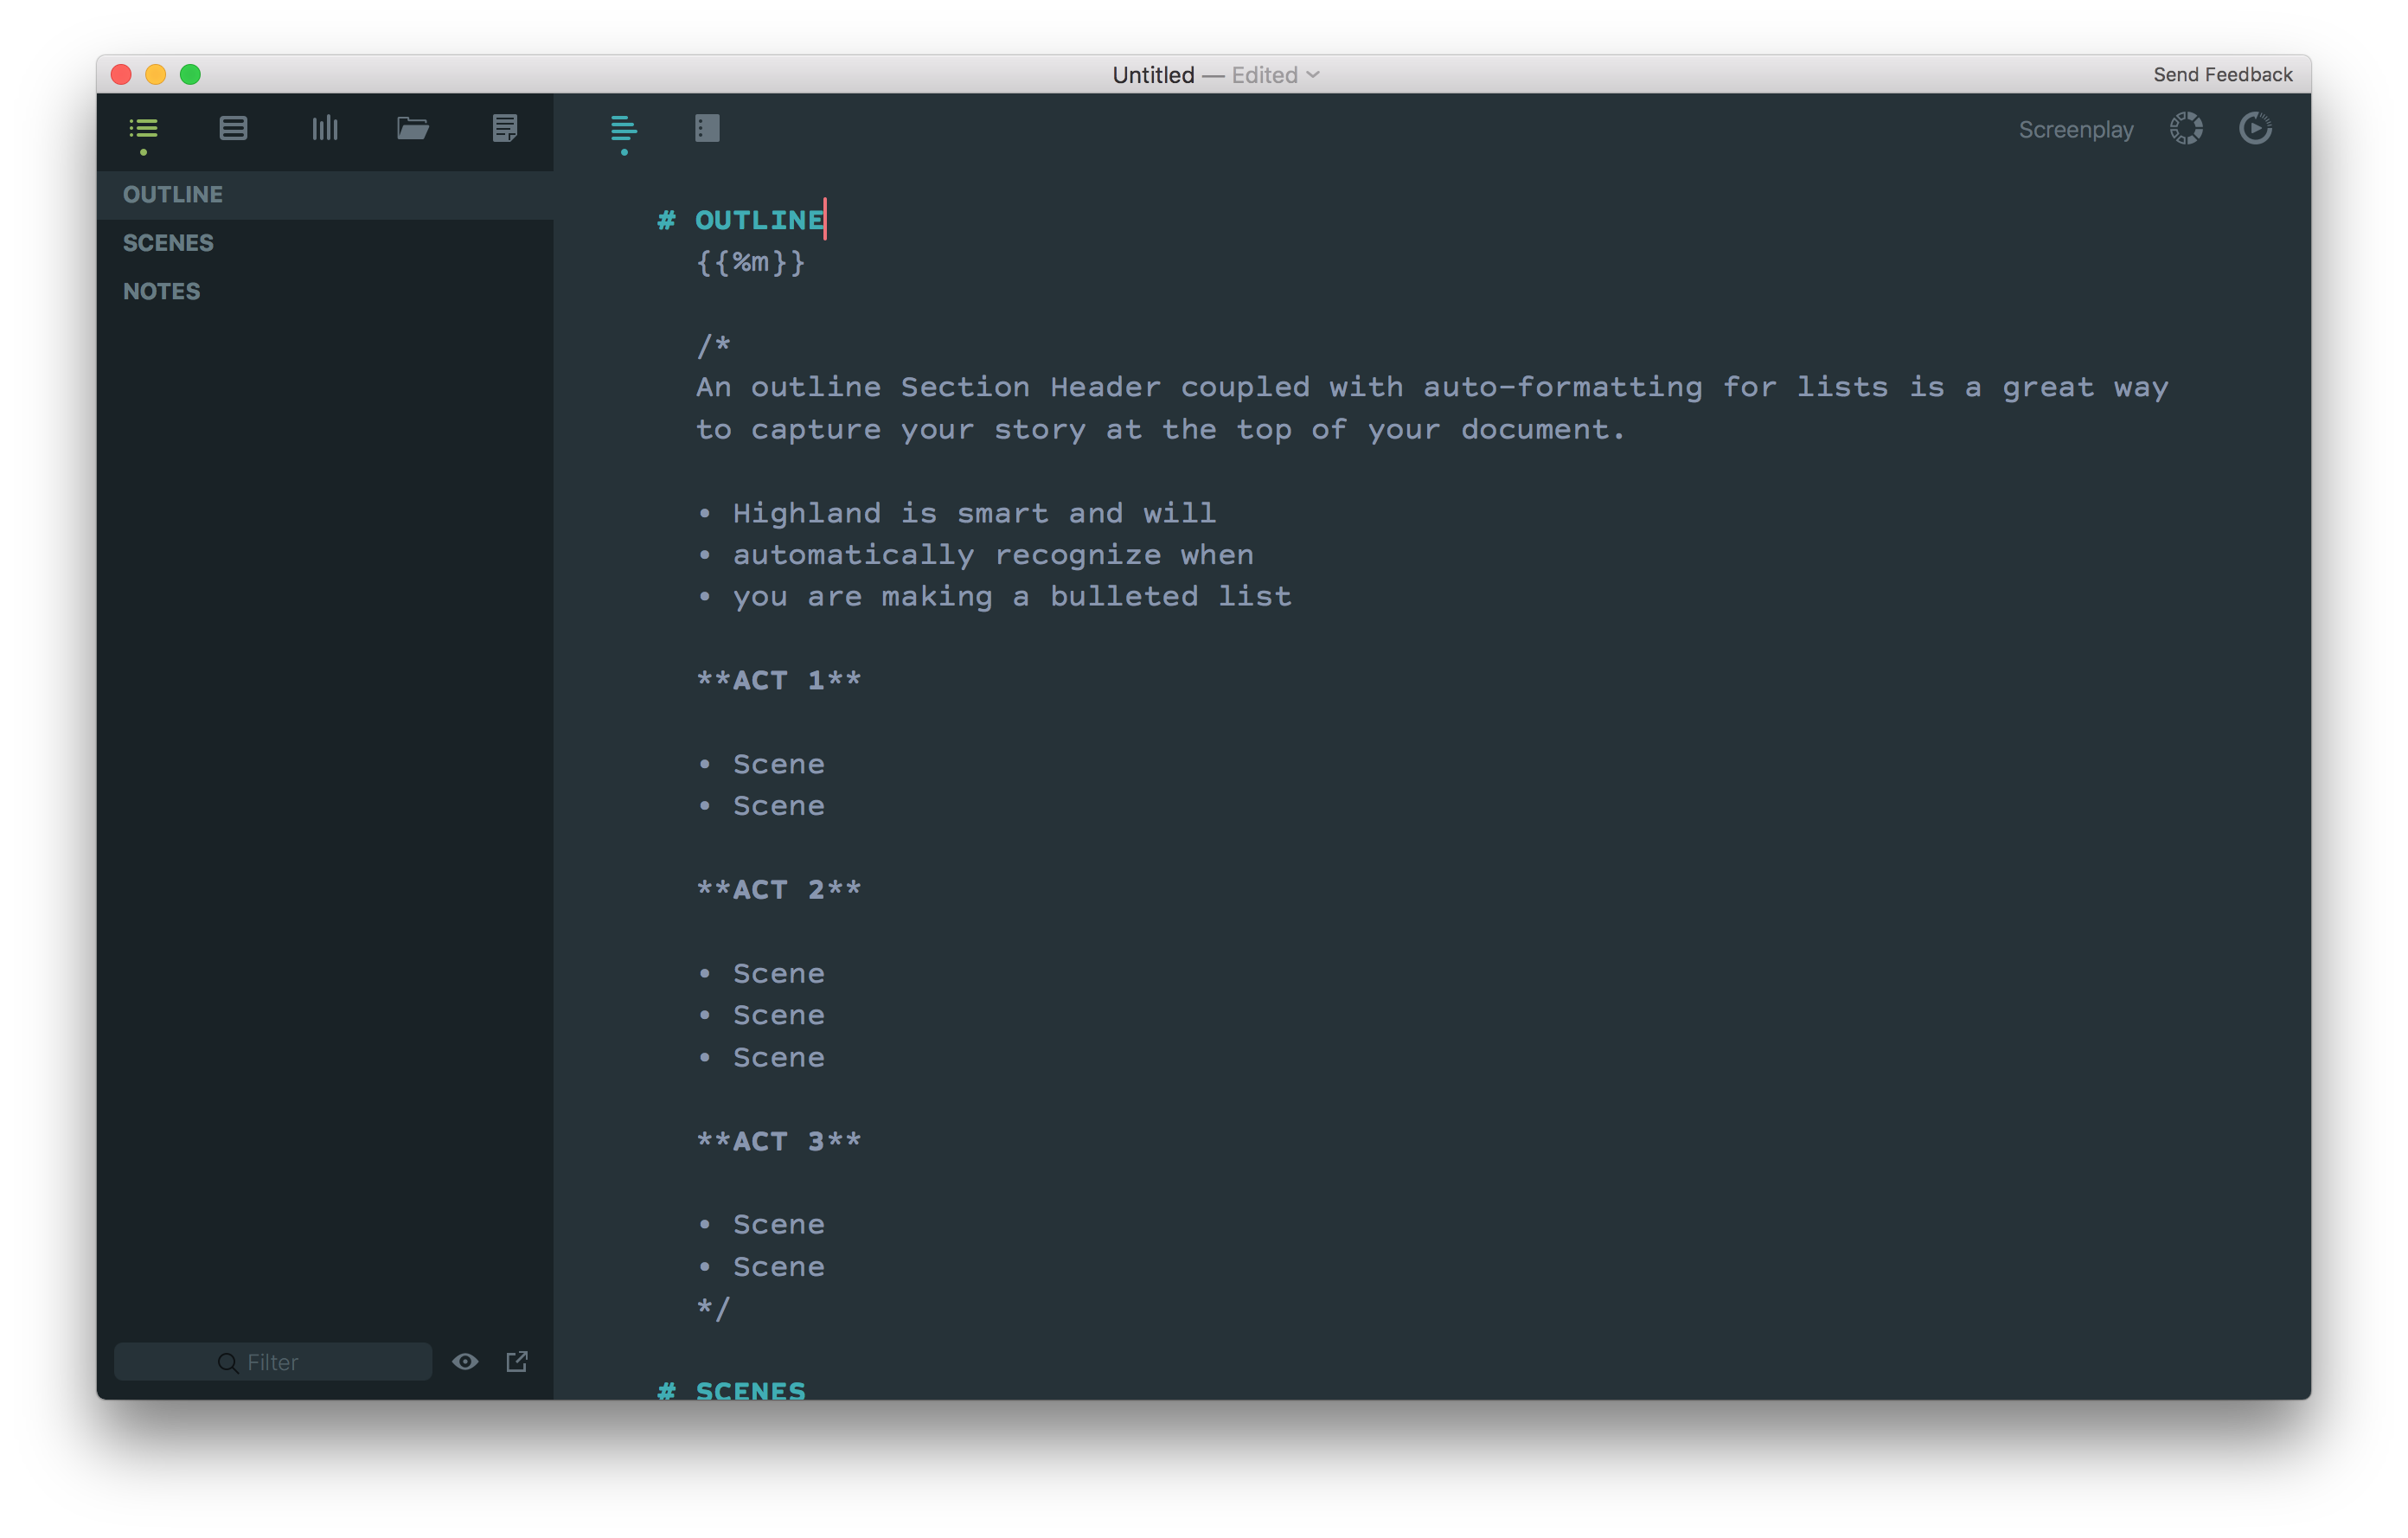
Using Fountain in the Editor for Navigator outlining, you can create a simple master structure across your entire Highland document that the Navigator weaves together. Section headers, which are preceeded by a hashtag, create big buckets to put stuff in, like # OUTLINE, # SCENES and # NOTES. The Jump To functionality of the Navigator makes it easy to get to them anytime.
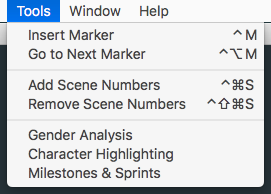
You can also add markers after each big bucket to get around even faster. To do this:
- Place your cursor where you want to insert a marker
- Go to Tools > Insert Marker, or press Control+M
- With markers inserted, you can now quickly cycle through your markers by pressing Control+Option+M
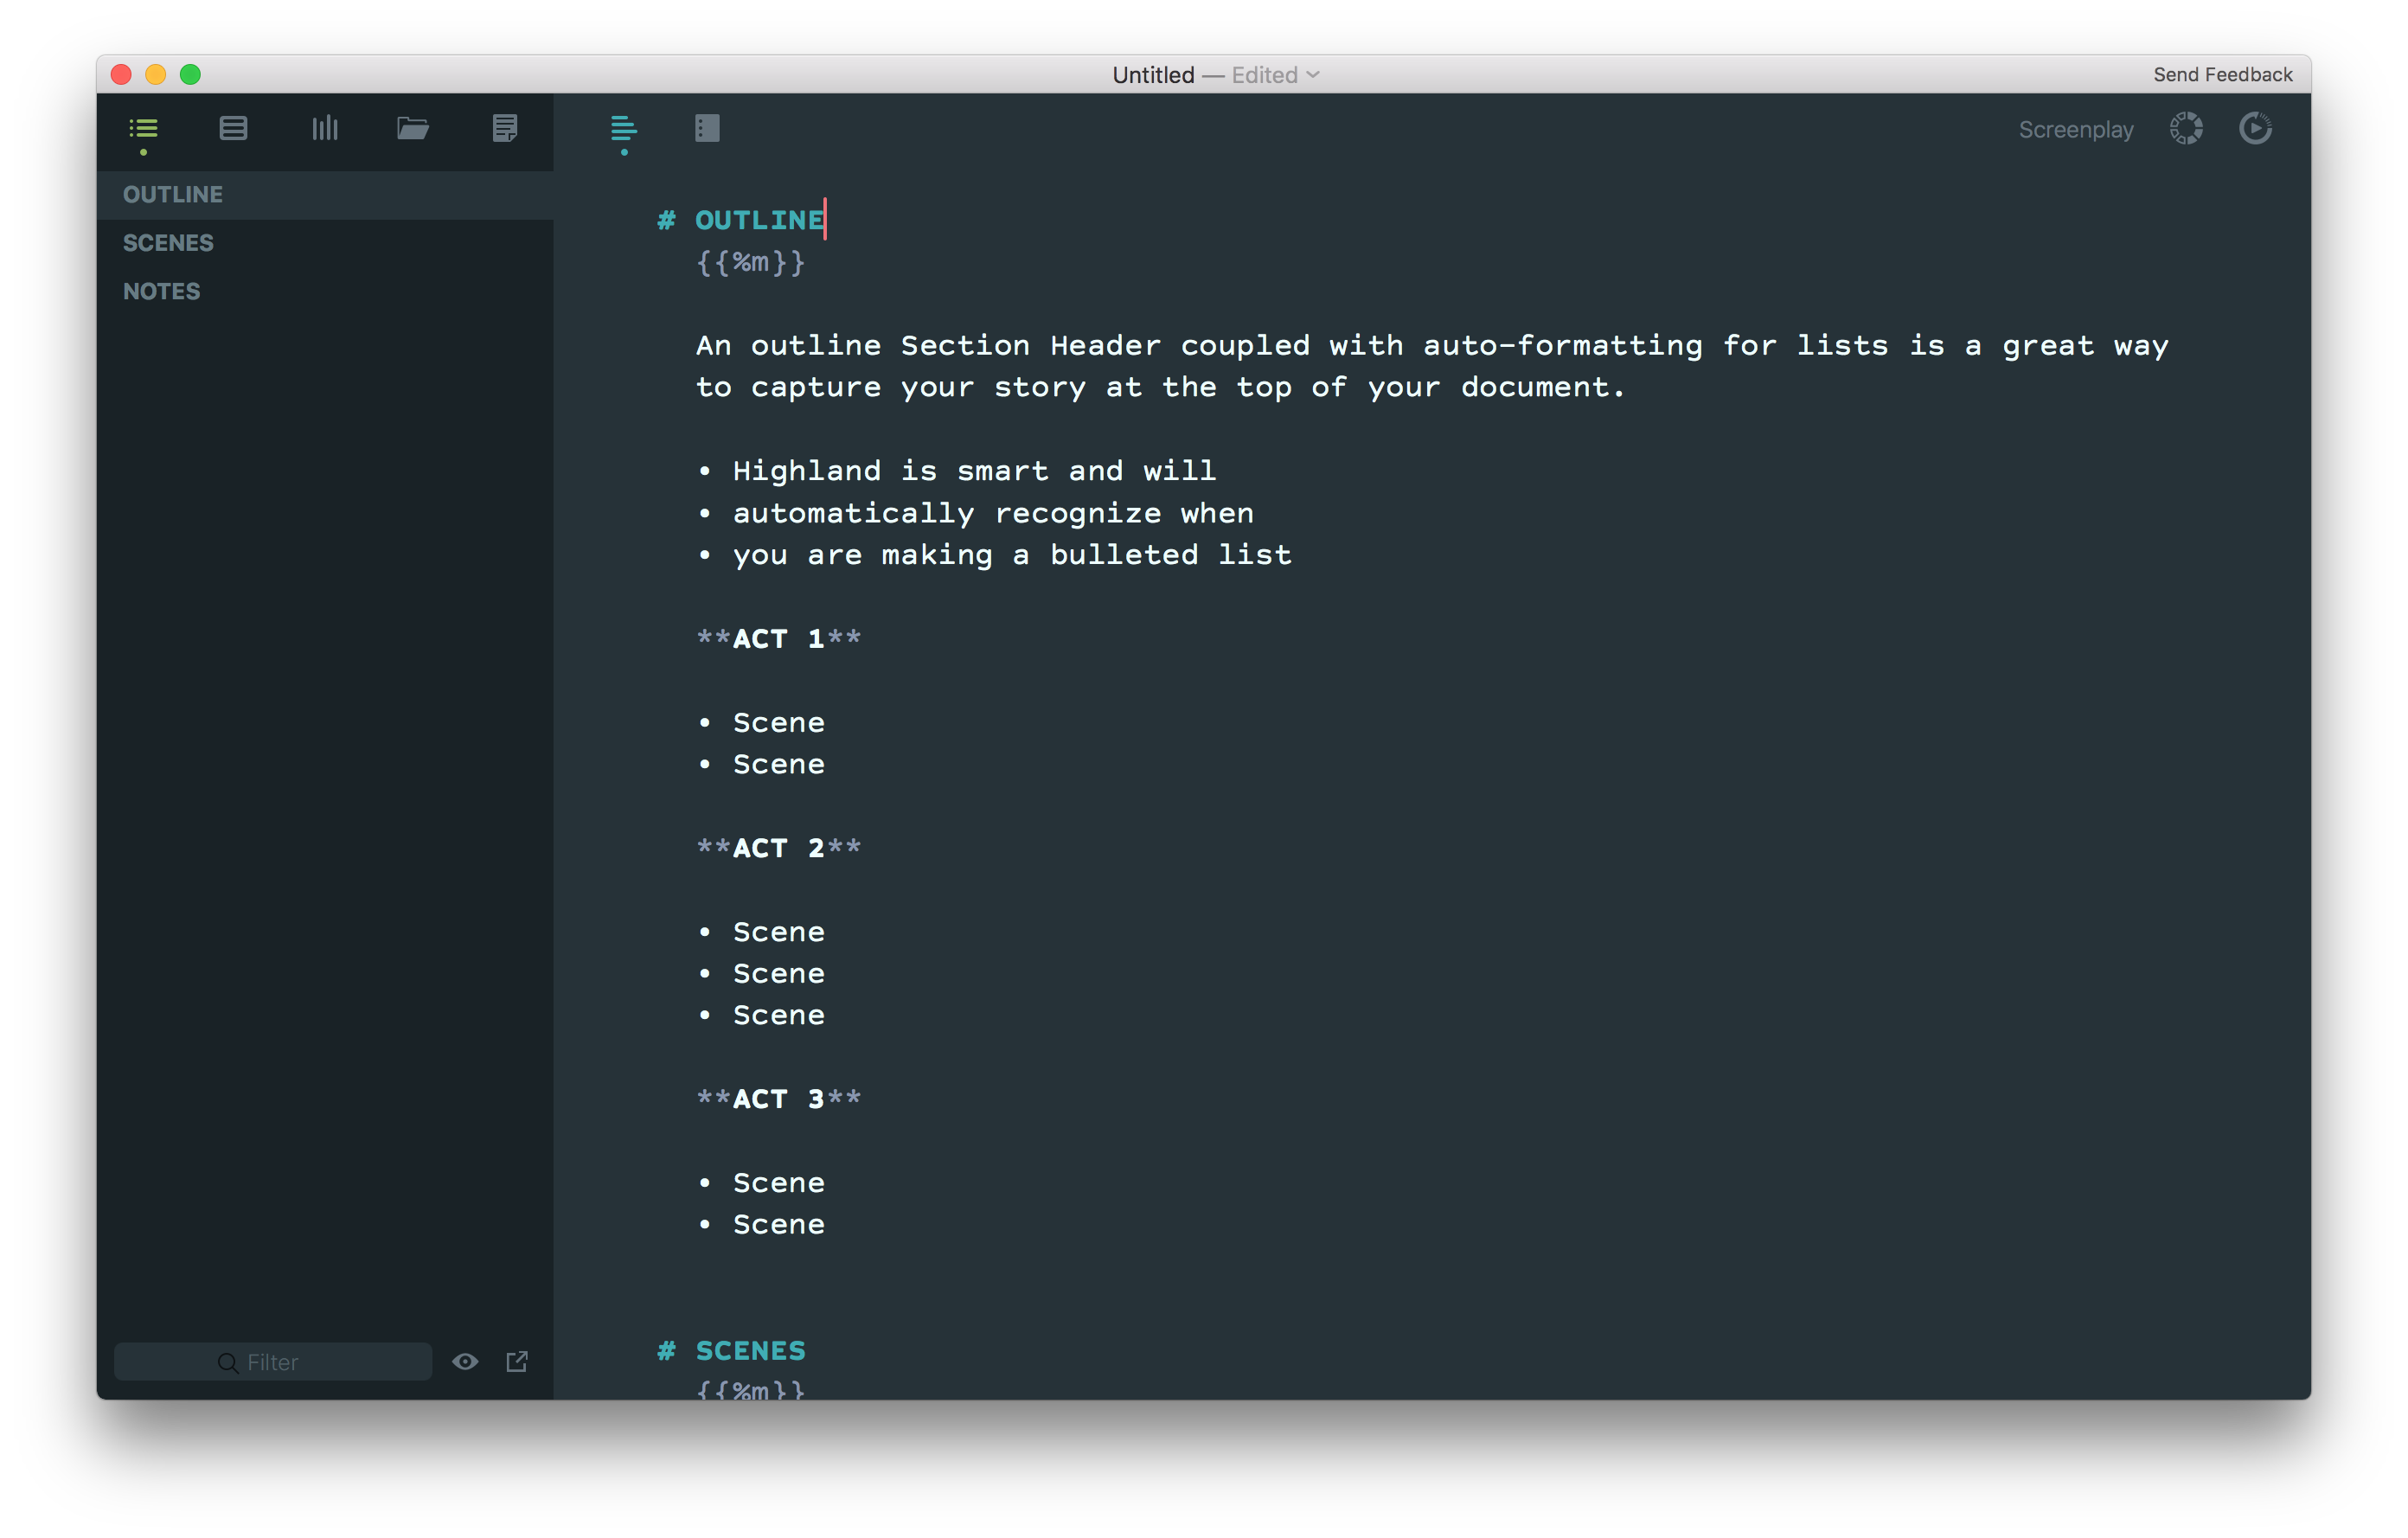
Including a high level story outline at the top of your document is easy because Highland is smart and recognizes when you’re making bulleted lists. Eventually, when your screenplay is done, you’ll only need your scenes in the Editor when exporting to another format like PDF or FDX, so you can either /*Boneyard*/ your outline and notes inside the Editor in your Highland file or keep them in a separate file.
The Note entity is very handy across the Editor and the Navigator, and with a basic understanding of some key attributes of the Note entity, you can use them for a wide variety of purposes. Notes don’t appear in Preview, just the Editor and Navigator. To make text a note, [[wrap it in double brackets]]. This will turn the text inside the brackets green (in the Material theme), which is hard to miss in the Editor and the Navigator. Lengthy notes will generate a lot of green text on the screen in both locations, so to mitigate this, combine a Note entity containing only a dot (Option+8) with a /*Boneyard*/ entity like this:
[[•]] /* This is the Boneyard entity, which is handy for lengthy notes because Highland doesn’t display
Boneyards in the Navigator. And Boneyard text in the Editor takes on a styling that is visually
subordinate to actual screenplay text, so it’s easy to maintain a sense of what’s what in
a Highland file. */
![]()
Only the green dot inside the double brakets appears inside the Navigator. There could easily be times when you have lengthy inline notes in mulitple places across your screenplay, so to put it in plain pixels:

I also like the dot for a more subtle reason—it extends the visual technique of the dot under the active sidebar selection down into your Navigator outline structure. Like a badge on an app icon on your phone, only the app icon is your scene header.
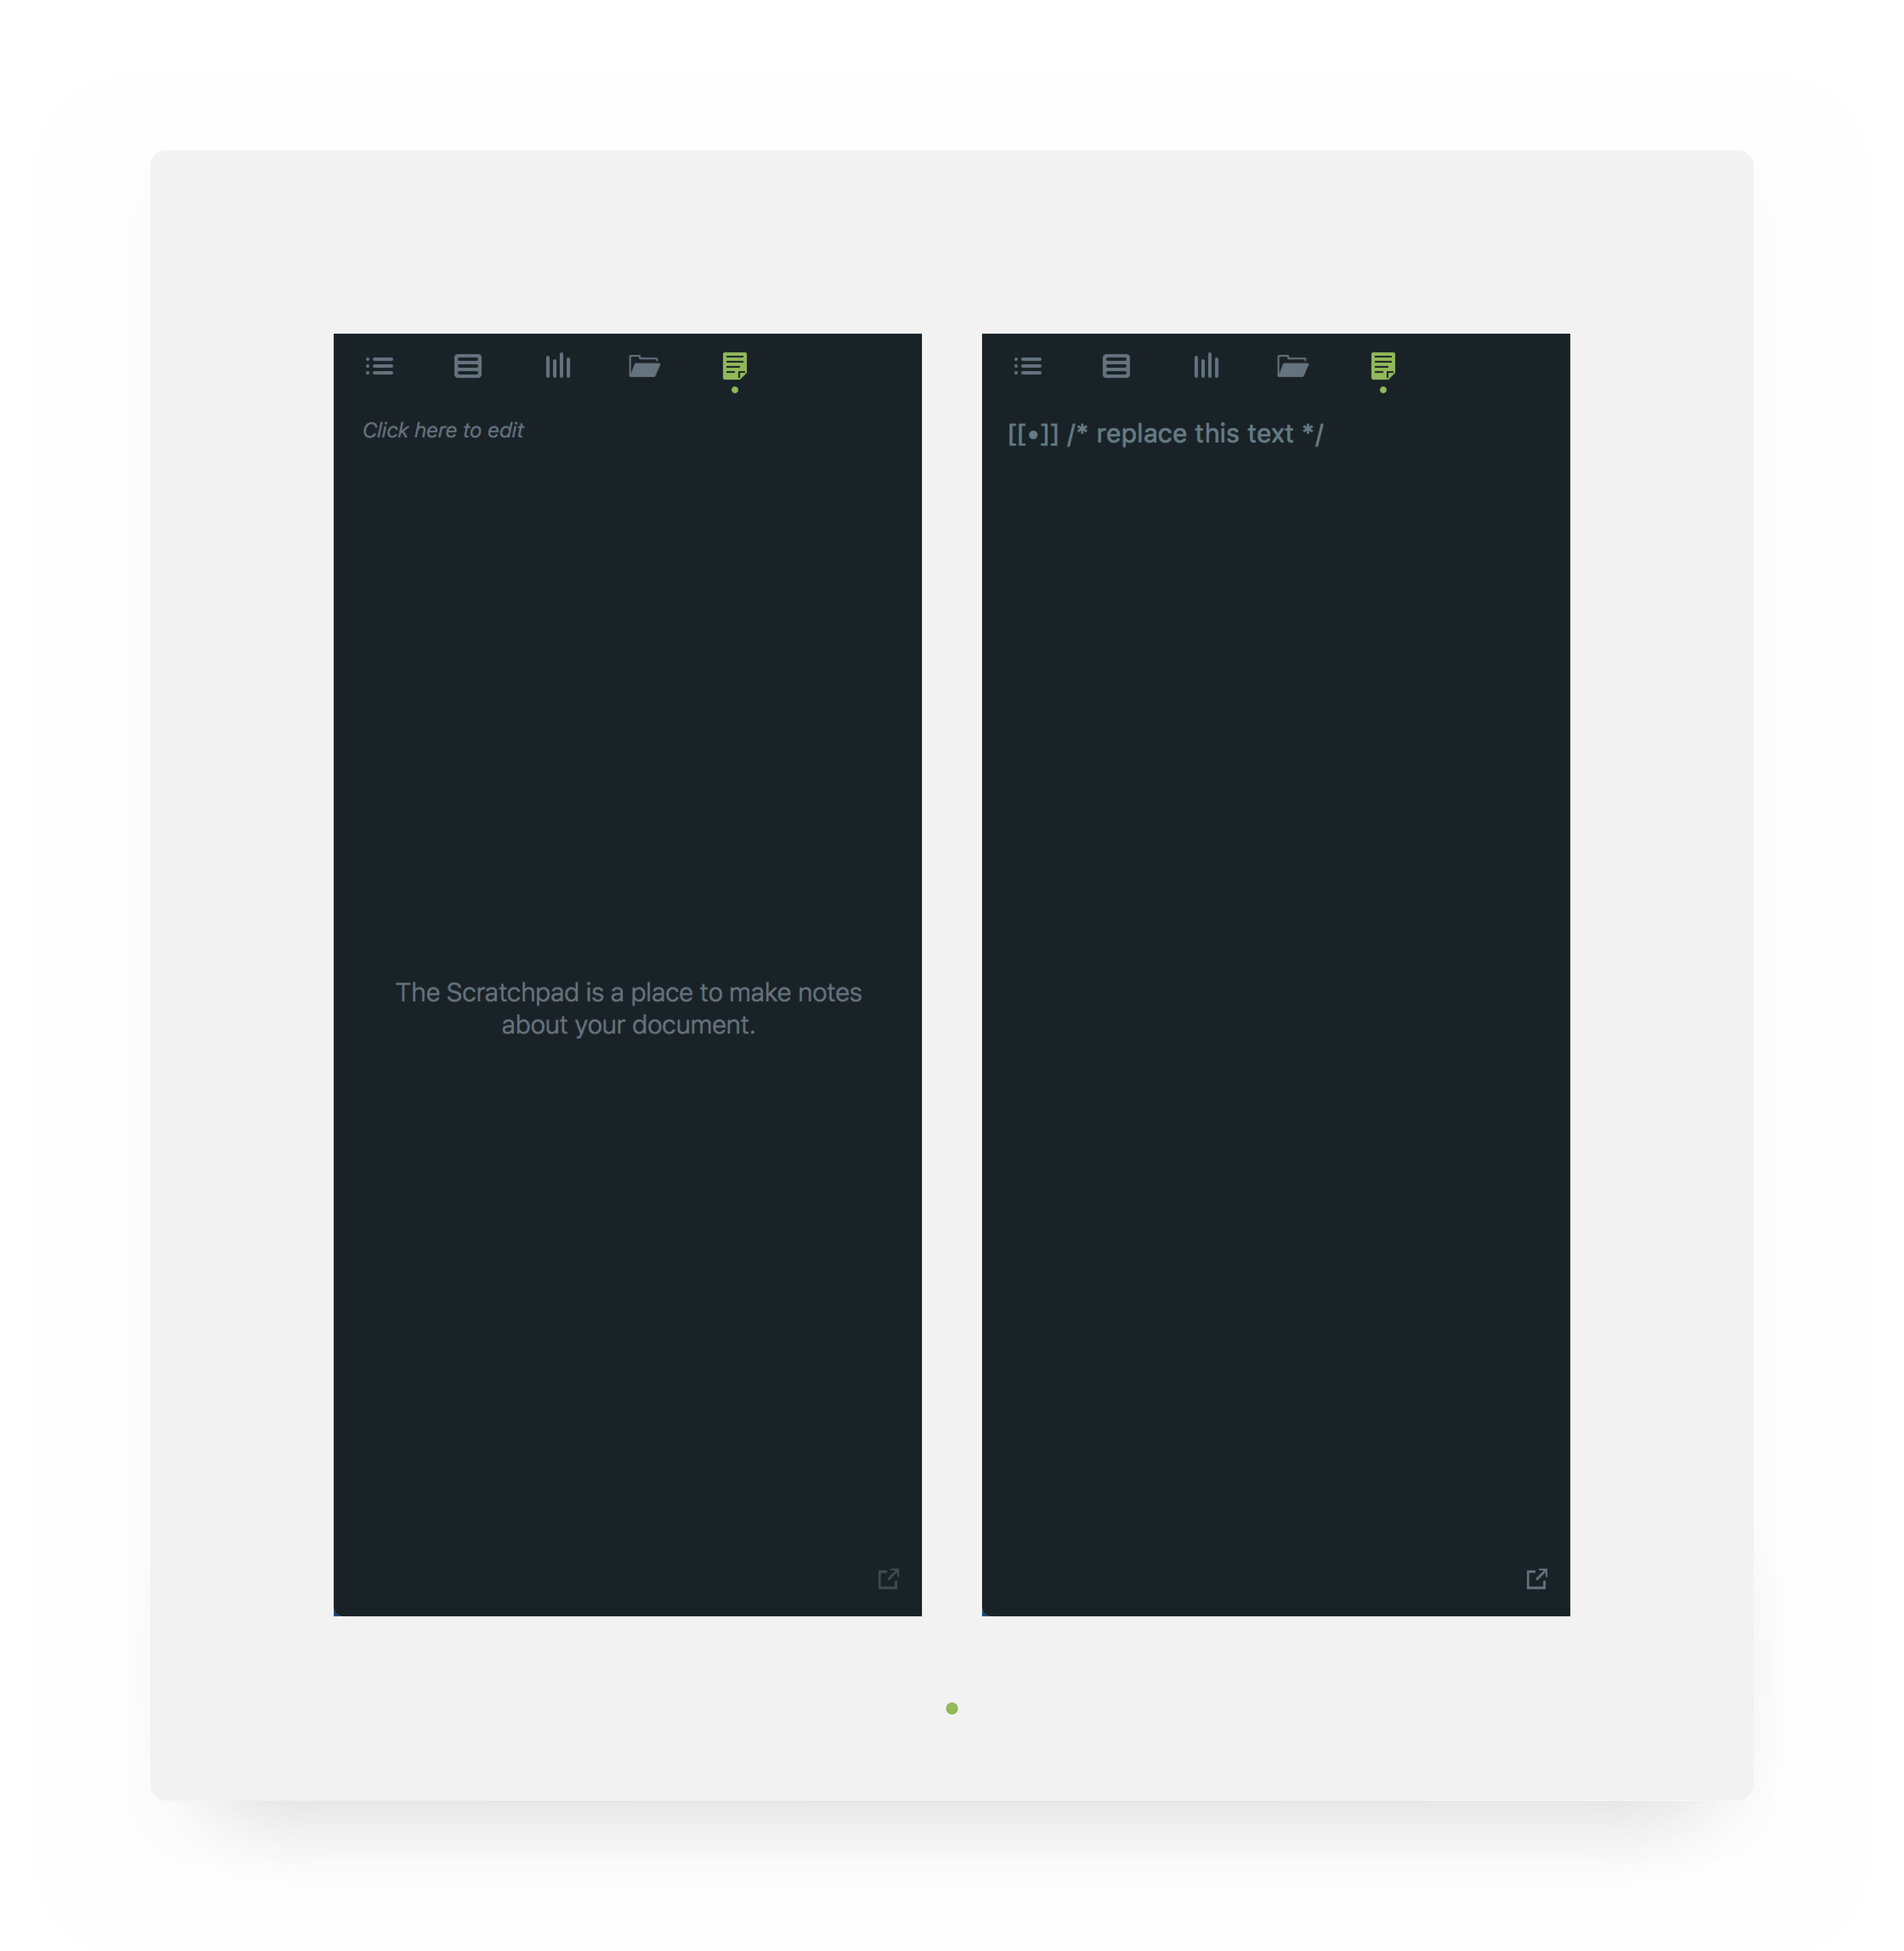
The Scratchpad (Command+5) is a place where you can keep basic “read me” notes for others who might open your acutal Highland file. As an authoring workflow hack, I keep a Note/Boneyard snippet at the top of the Scratchpad and use the Scratchpad as a repeat copy+paste source for dropping inline notes while I write:
- Command+5 to trigger the Scratchpad
- Add this Note/Boneyard snippet to your Scratchpad: [[•]] /* replace this text */
Now you can use this anytime you need to integrate an inline note into your screenplay in the Editor. To do this:
- Command+5 to trigger the Scratchpad
- Copy the Note/Boneyard snippet: [[•]] /* replace this text */
- Command+1 (keep the Navigator visible)
- Paste your note anywhere you like in your screenplay text in the Editor
I’ve used this technique in a couple helpful ways, from keeping a bread crumb trail of things I need to research, to tracing down contextual errors, such as how a prop is used (or misused) across a range of pages. Inline notes let you create any type of ephemeral system in the Navigator you might need for troubleshooting or tracking just about anything in your screenplay without having to solve issues by scrolling up and down the Editor or printing to paper. Overall, the Navigator is a great addition to the product, unlocking a wide range of fluid workflow capabilities as you write.
Highland Preferences offer some nice settings for the authoring experience. Be sure to check out Highland Sans. Unlike traditional Courier, it’s an elegant screenwriting font that you’ll appreciate looking at for long periods of time in the Editor. Unchecking “Show markup in Navigator” cleans up the Navigator a bit by removing Fountain characters from the sidebar interface. I also like to uncheck “Bold scene headers” because 1) depending on the nature of your script bold scene headers might make your Preview a bit busy, and 2) you have the ability to append scene numbers to your scene headers that are visible in Preview, and they serve as great visual anchors for jumping your eye to a scene in a PDF file or on paper, as well as functional anchors for discussion with others who read your screenplay.

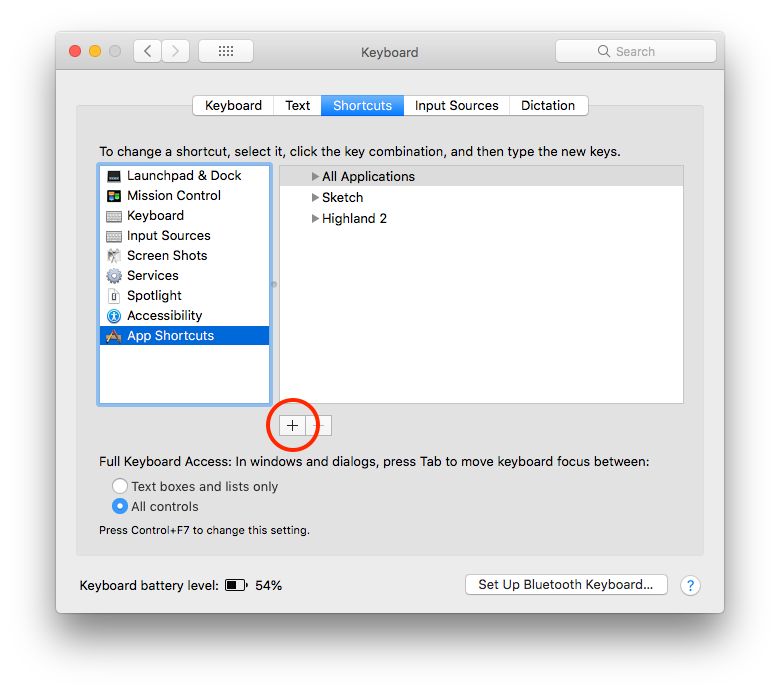
Scene numbers can be added and removed by going to the Tools menu, but I recommend setting a custom app shortcut for both functions because while writing a screenplay, things move around often enough that scene numbers can easily get out of order. Since it’s helpful to have them in there during the writing process for quickly finding a scene when scanning the Navigator, creating custom shortcuts for these functions will save you some time, as you might add/remove them several times during a writing session. To set custom app shortcuts:
- Press Command+Spacebar to trigger Spotlight
- Type “keyboard” and press Return
- Click on the Shortcuts tab at the top of the Keyboard dialog window
- Click on App Shortcuts in the left sidebar menu
- Click the + button to add an app shortcut
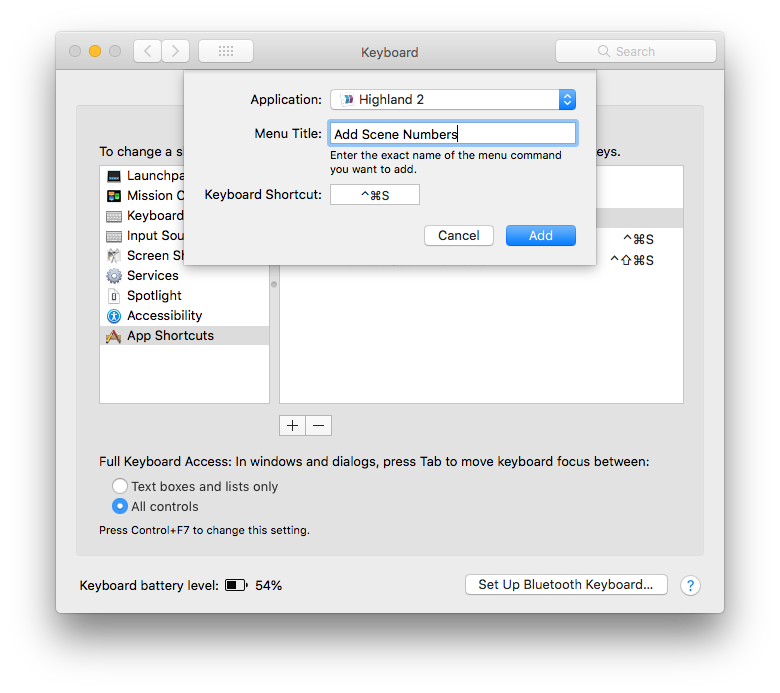
- Select Highland 2 from the Application dropdown
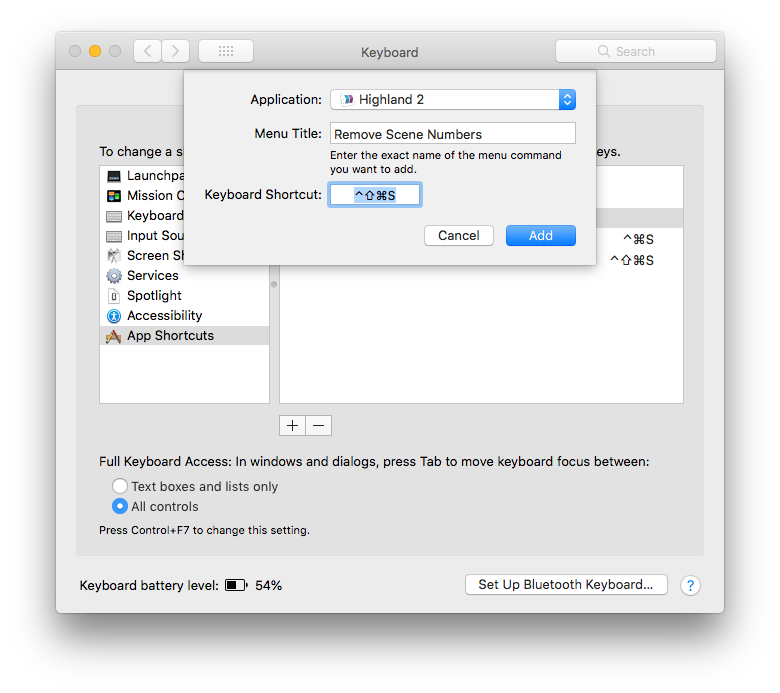
- Enter the exact name of the functions, plus the actual shortcut you want to use
- Add Scene Numbers: Control+Command+S
- Remove Scene Numbers: Shift+Control+Command+S
Act 3
The future of screenwriting lives at the intersection of Fountain and Highland…
These are the basics of my screenwriting workflow, but I’m constantly finding news ways to evolve how I use Highland, and you will too. It is by far the easiest and most flexible screenwriting app I’ve used. For context, when I first launched the beta, I intentionally avoided the Getting Started docs to see if the first run experience passes the Trust Exercise. With a basic understanding of Fountain from my brief time with Highland 1, I began writing immediately in Highland 2 without feature hiccups, despite the addition of the sidebar. Highland 1 was a pure and essential telling of The Screenwriting User Story, embodying the essence of the No UI philosophy, and Highland 2 is a proper sequel.
To bring it all back to Highland’s premise: just start writing, which you can do with Highland 2 for free. If you like writing this way, permanently removing the Highland watermark only costs $50. For what you get from Highland 2, this is a phenomenal price. With plenty of goodies in Highland waiting for you as you get more comfortable writing this way, there is one goodie worth knowing about that isn’t in Highland: John August’s script reader for iOS called Weekend Read. If you keep your Highland files on Dropbox, it’s easy to pull in the most recent version of your script to your mobile devices for a nice native read. And as a bonus there are a lot of great screenplays available to read as well.
The future of screenwriting lives at the intersection of Fountain and Highland. Why write your next screenplay inside the obtuse constraint of an out-of-touch product design user story? Unlike other forms of creativity, software does not age well, so the next time you open whatever screenwriting app you use, ask yourself, “Is this app a joy to use”? If the answer is no, you may already be a Highlander.
Get Started:
Learn More: